3.2 Creating Client Application Certificates for REST APIs
This page describes how you create Transport and Signing Certificates. Creating these certificates is an essential step for enabling OAuth 2.0 client applications that connect to Thredd's REST APIs. As Servers are secured using mTLS, your client application must present a trusted Transport Certificate when connecting to either the Authorisation Server or the Resource Server (which hosts the Thredd APIs). The steps described on this page for creating certificates include those through the Thredd CA dashboard, and also via the command line interface.
Summary of Steps
The steps for obtaining a certificate are as follows:
- Log in to Thredd CA for your organisation. You will have access to at least one Organisation for your parent company.
- Register a client application with Thredd's CA. This ensures that the CA recognises the client application before generating certificates.
- Create a new Transport Certificate.
You will need to create a CSR (Certificate Signing Request) and a private key. A CSR is a file that needs to be submitted to the Certificate Authority (CA) for generating a valid certificate. Note that all screenshots for private keys and CSRs on this page show example data only.
You need to create certificates before registering an application with the Authorisation Server. Registering an application with the Authorisation Server is part of Dynamic Client Registration. For details, on Dynamic Client Registration, refer to Dynamic Client Registration.
Certificate Types for the CA
This CA is responsible for generating and signing the following certificate types:
- Transport Certificates — used for client and server authentication.
- Signing Certificates — used for proving identity.
The following procedure ensures that you create a Transport Certificate and Signing Certificate from the Thredd CA only. You must use certificates from this CA, as self-signed or third-party certificates result in connections being refused.
Storing Generated keys
After generating the private key and CSR on your system, you must take steps to ensure that the keys are managed and stored securely.
3.2.1 Prerequisites
The following are prerequisites for creating Transport and Signing Certificates:
-
There must be an account on Thredd CA, the application that is required for creating certificates.
-
You must have installed OpenSSL on your machine for creating the CSRs.
To access Thredd CA, you must first complete Thredd’s onboarding process. For details, contact your Implementation Manager.
3.2.2 Step 1. Log In to Thredd CA
- Log in to Thredd CA using the links below:
- Sandbox: https://web.directory.sandbox.threddid.com/
- Production: https://web.directory.threddid.com/
- In the Sign-in screen, enter your registered email address and click Cloudentity SSO.
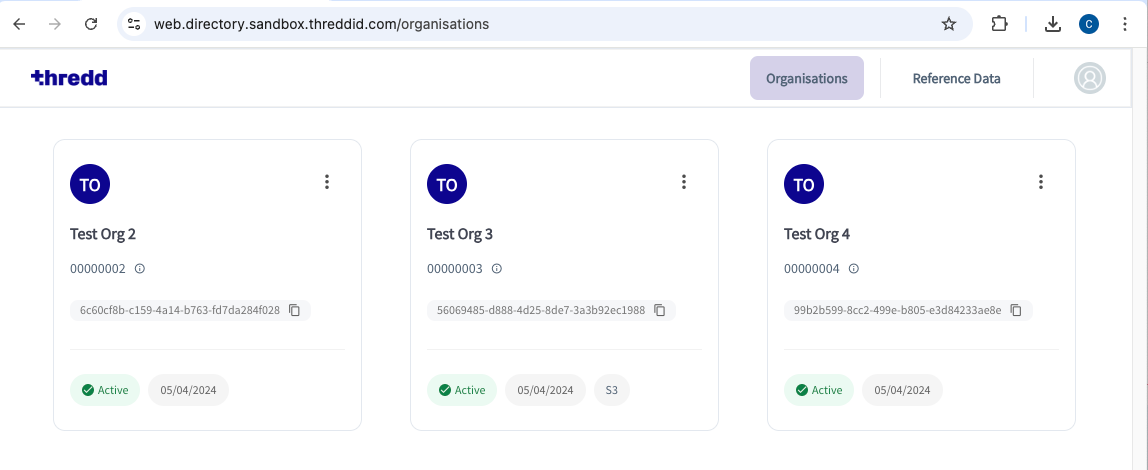
- Follow any other screen prompts or steps provided for your organisation. The Thredd CA dashboard appears with a list of organisations.
3.2.3 Step 2. Register a Client Application
Before creating either a Transport Certificate or a Signing Certificate, you must register a client application with Thredd’s CA. Using Thredd CA, you provide metadata associated with the application. The steps for registration are as follows:
- Create the new client application.
- Select roles associated with your client application.
- Enter client details, which is any metadata associated with the client.
- Enter user authentication settings.
- Type in additional details
The step for registering a client application does not register the application with the Authorisation Server. For information on how to register with an Authorisation Server, see Dynamic Client Registration.
Create a New Client Application
- Select your organisation and then select Applications from the left-hand menu.
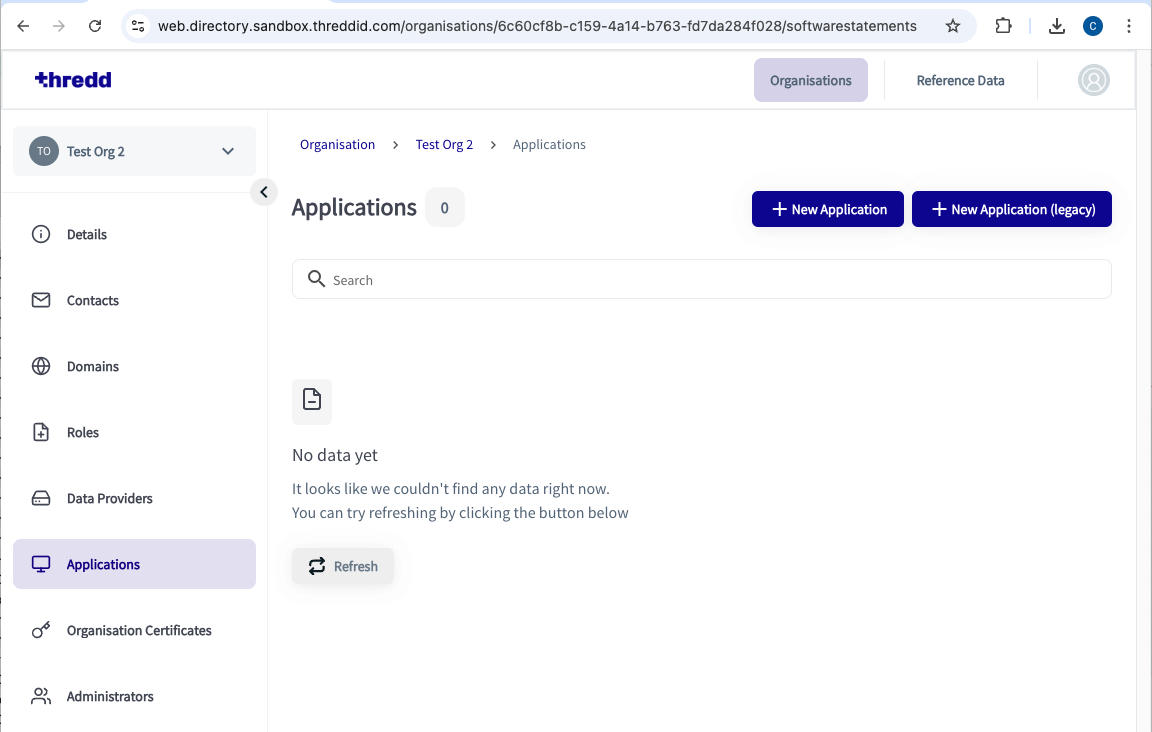
- Click New Application (top-right of the screen). The New Client wizard appears.
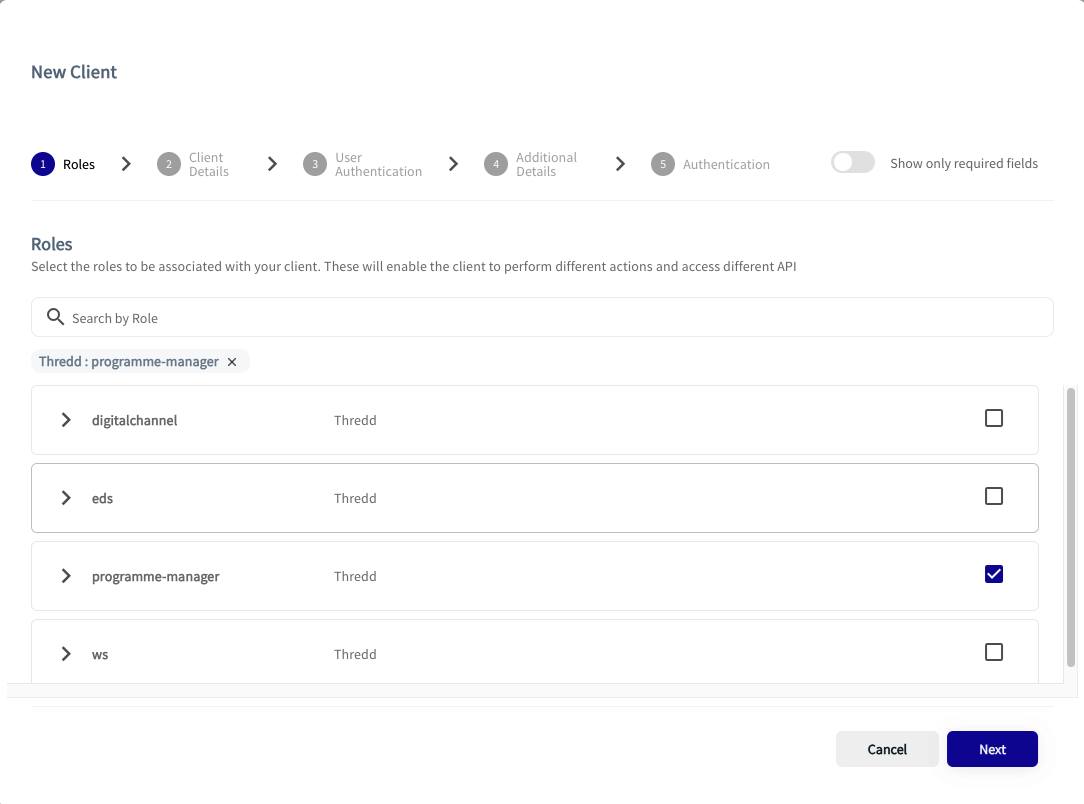
Select Roles
The New Client shows the roles that are available to you. The organisation determines the available roles.
- Tick a check box for the role you require. This example shows the selection of the programme-manager role.
- Click Next.
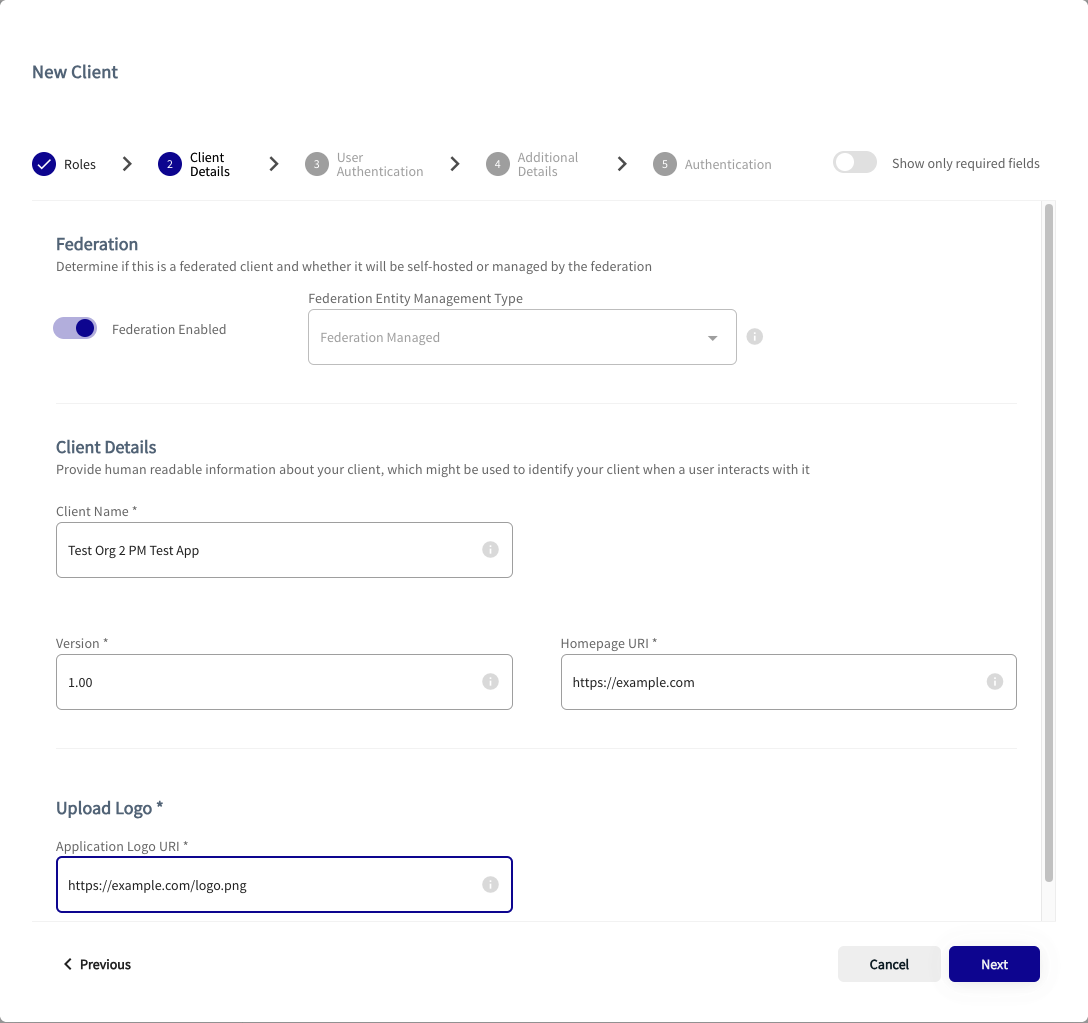
Enter Client Details
- Complete the form by entering details where applicable. The table below describes the fields.
|
Field Name |
Example Data |
Notes |
|---|---|---|
|
Federation Configuration |
Federation Enabled |
It is good practice to have federation enabled for all applications. |
|
Client Name |
Test Company App 1 |
The name of the intended OAuth client application. This setting is mandatory. |
|
Version |
1.0 |
Your chosen application version. This setting is mandatory. |
|
Homepage URI |
https://example.com |
URI of the homepage. This setting is mandatory. |
|
Upload Logo |
https://example.com/logo.png |
URI of the logo for the homepage. This must also include the file format of the logo. This setting is mandatory. |
- Click Next.
Enter User Authentication Settings
- Complete the form by entering user authentication details where applicable. The following table describes the relevant fields.
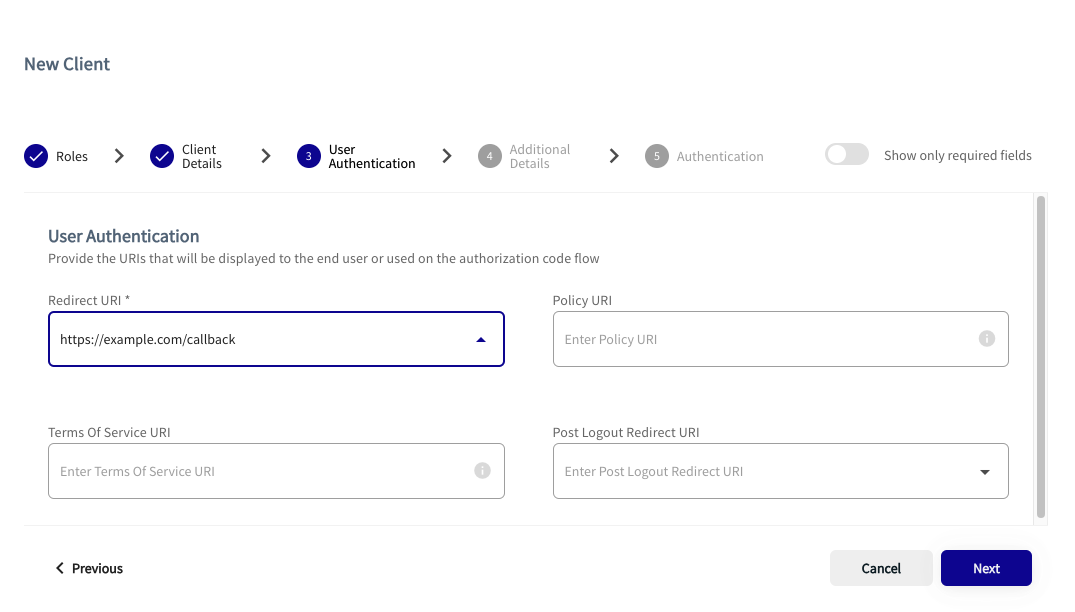
You do not need to fill in the following settings on the page: Policy URL, Terms of Service URI, and the Post Logout Redirect URI.
|
Field Name |
Example Data |
Notes |
|---|---|---|
|
Redirect URI * |
https://example.com/callback |
The callback URL any Confidential Client expects to be returned. This field is mandatory and you should enter the correct URI format. |
|
Logo URI |
https://example.com/logo.png |
Company logo URL. This must also include the file format of the logo. |
- Click Next.
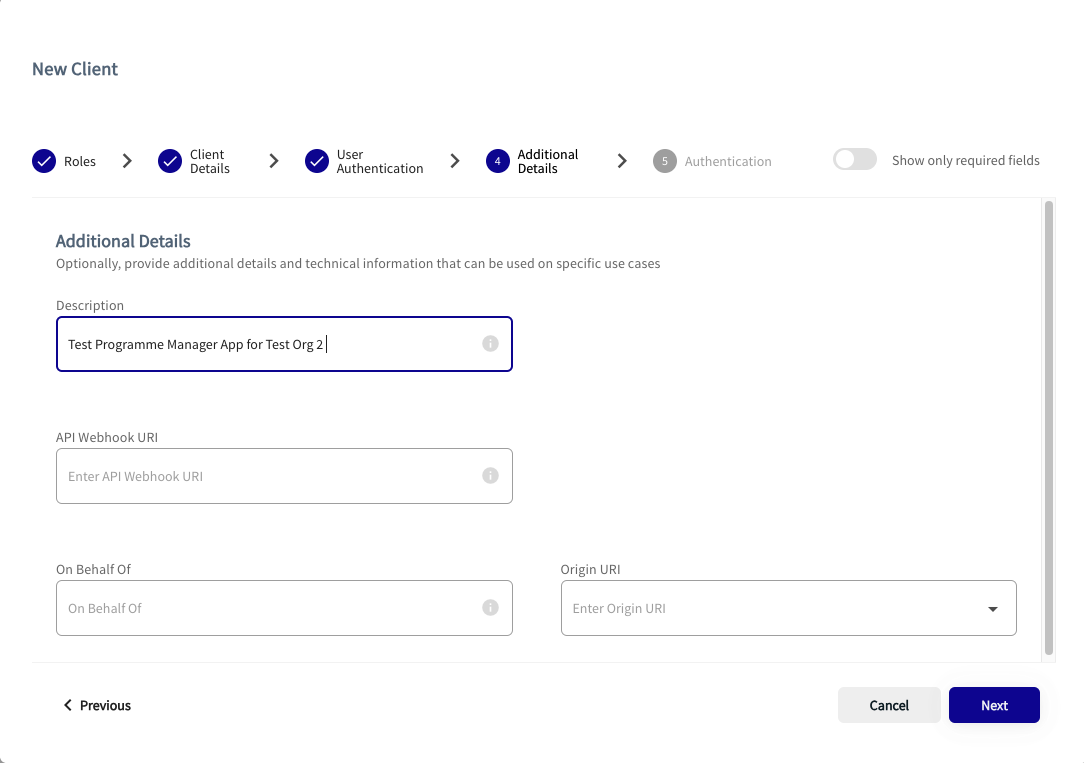
Type in Additional Details
- Complete the form by entering details where applicable. The following table describes the fields, all which are optional.
|
Field Name |
Example Data |
Notes |
|---|---|---|
|
Description |
Test Company App 1 |
Description of the app. |
|
API Webhook URI |
- |
URI of the webhook. |
|
On Behalf Of |
- |
On behalf of a particular user. |
|
Origin URI |
- |
The origin URI. |
Although not required, it is recommended that you enter a description.
- Click Next.
- Leave the following fields with their default values: Token Signed Response Algorithm ID and Token Endpoint Authentication Method. You should also leave Require Signed Request Object as enabled.
- Click Save.
- Ignore the step for adding an extra certificate.
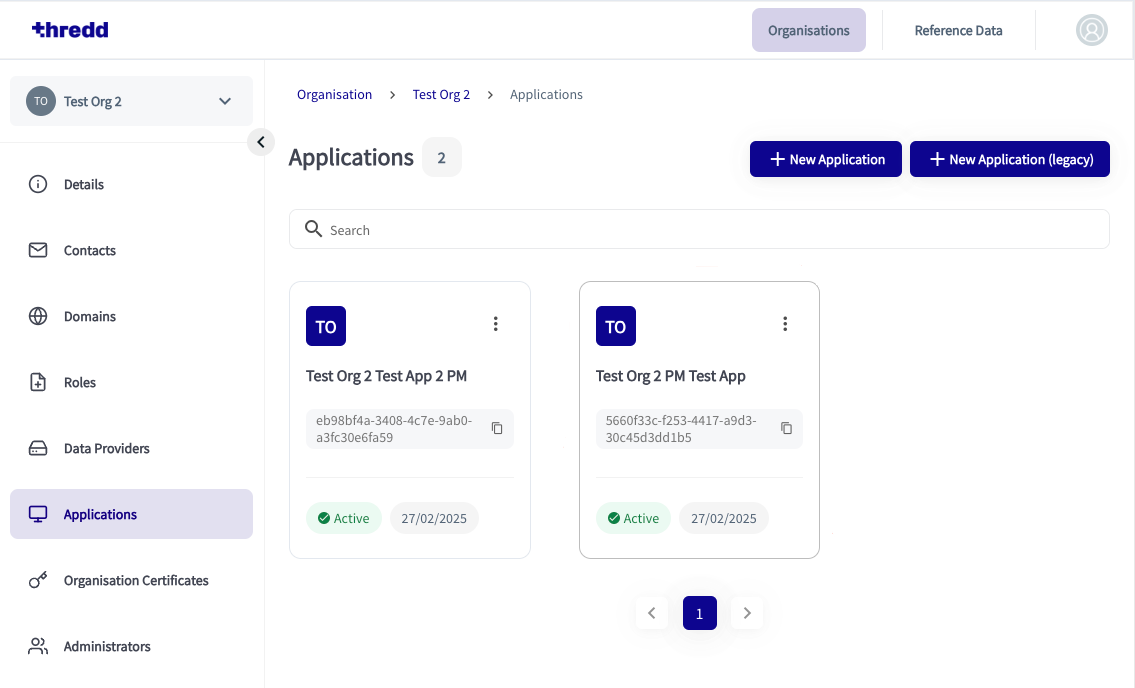
- Click Done. Your new Application appears as a tile on the Applications view.
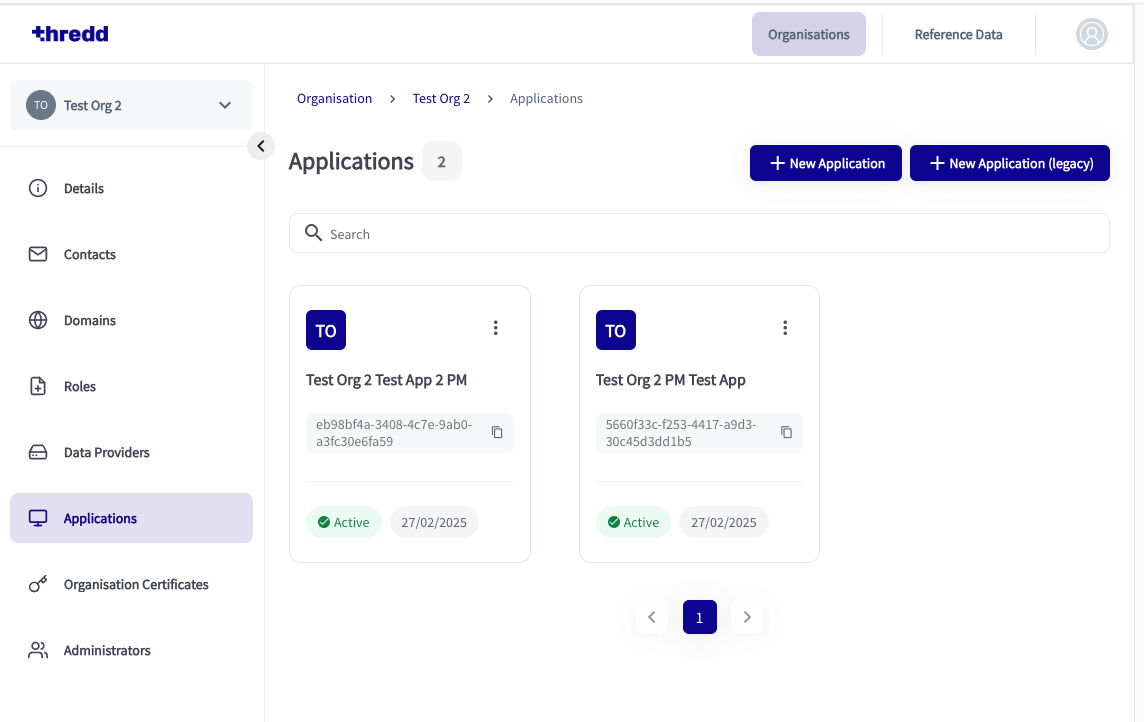
3.2.4 Step 3. Create a New Transport Certificate
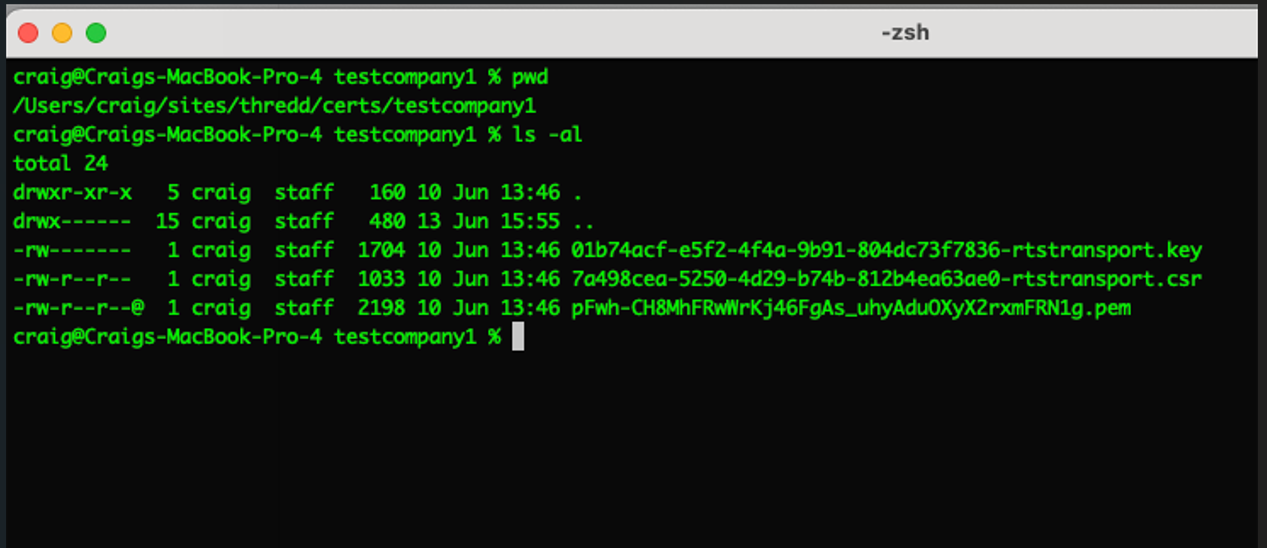
- In a new terminal window, create an empty directory for storing the private key and CSR. The following example shows a key pair and CSR that have been created in a directory.
- In the Thredd CA dashboard, click on the application tile you wish to create new certificates for. The second one below, Test Org 2 PM Test App, is an example.
- Click the App Certificates tab.
- Click the New Certificates button. The New Certificates window appears.
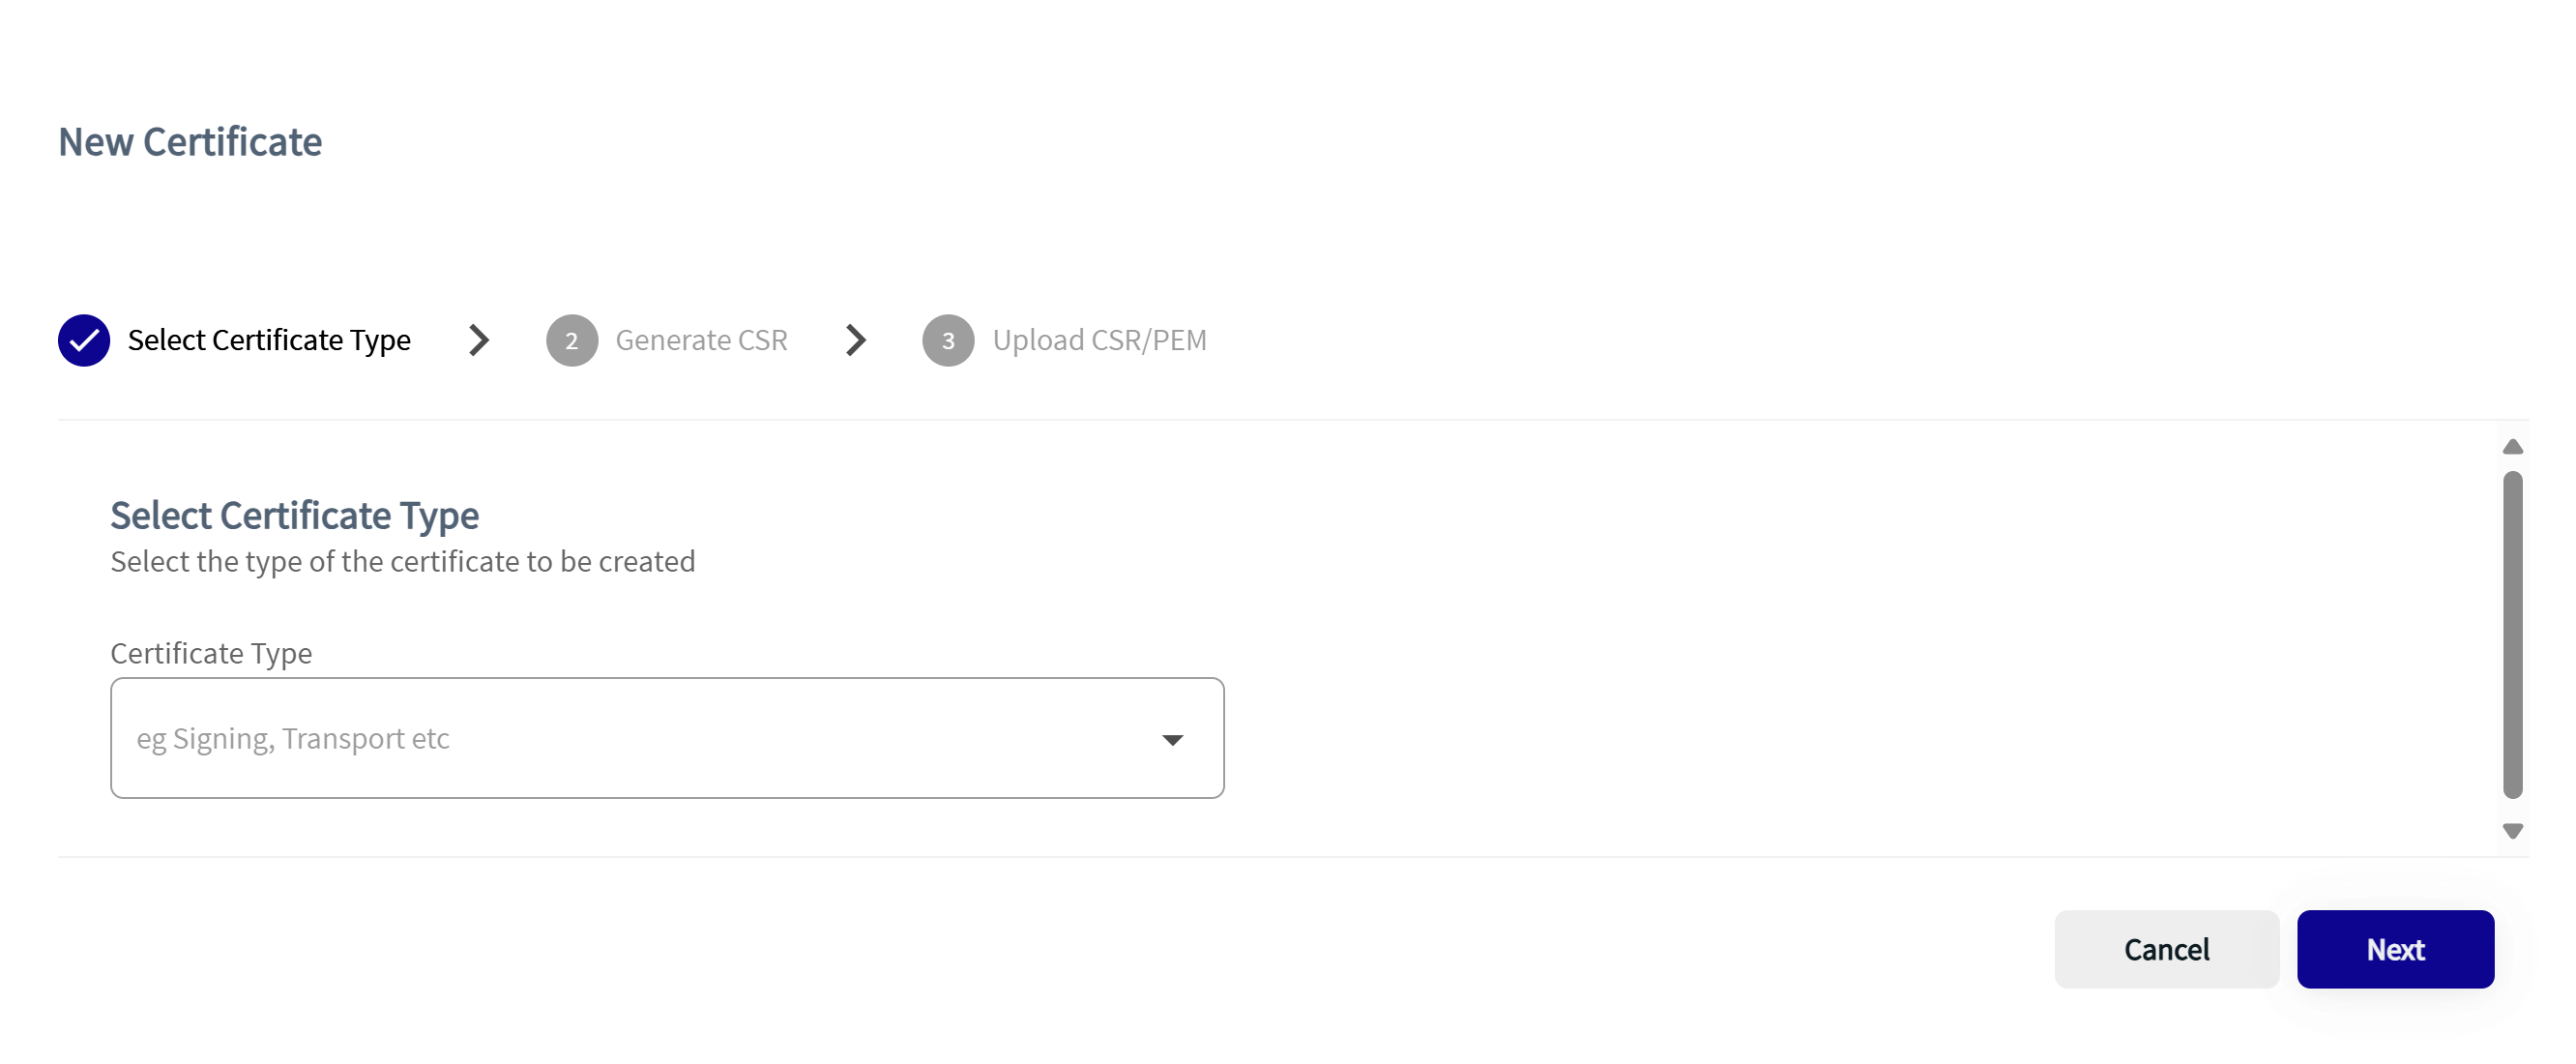
- Choose TRANSPORT from the drop-down menu and click Next
- Copy the generated CSR command and paste this into a terminal window. This action generates your private key and CSR.
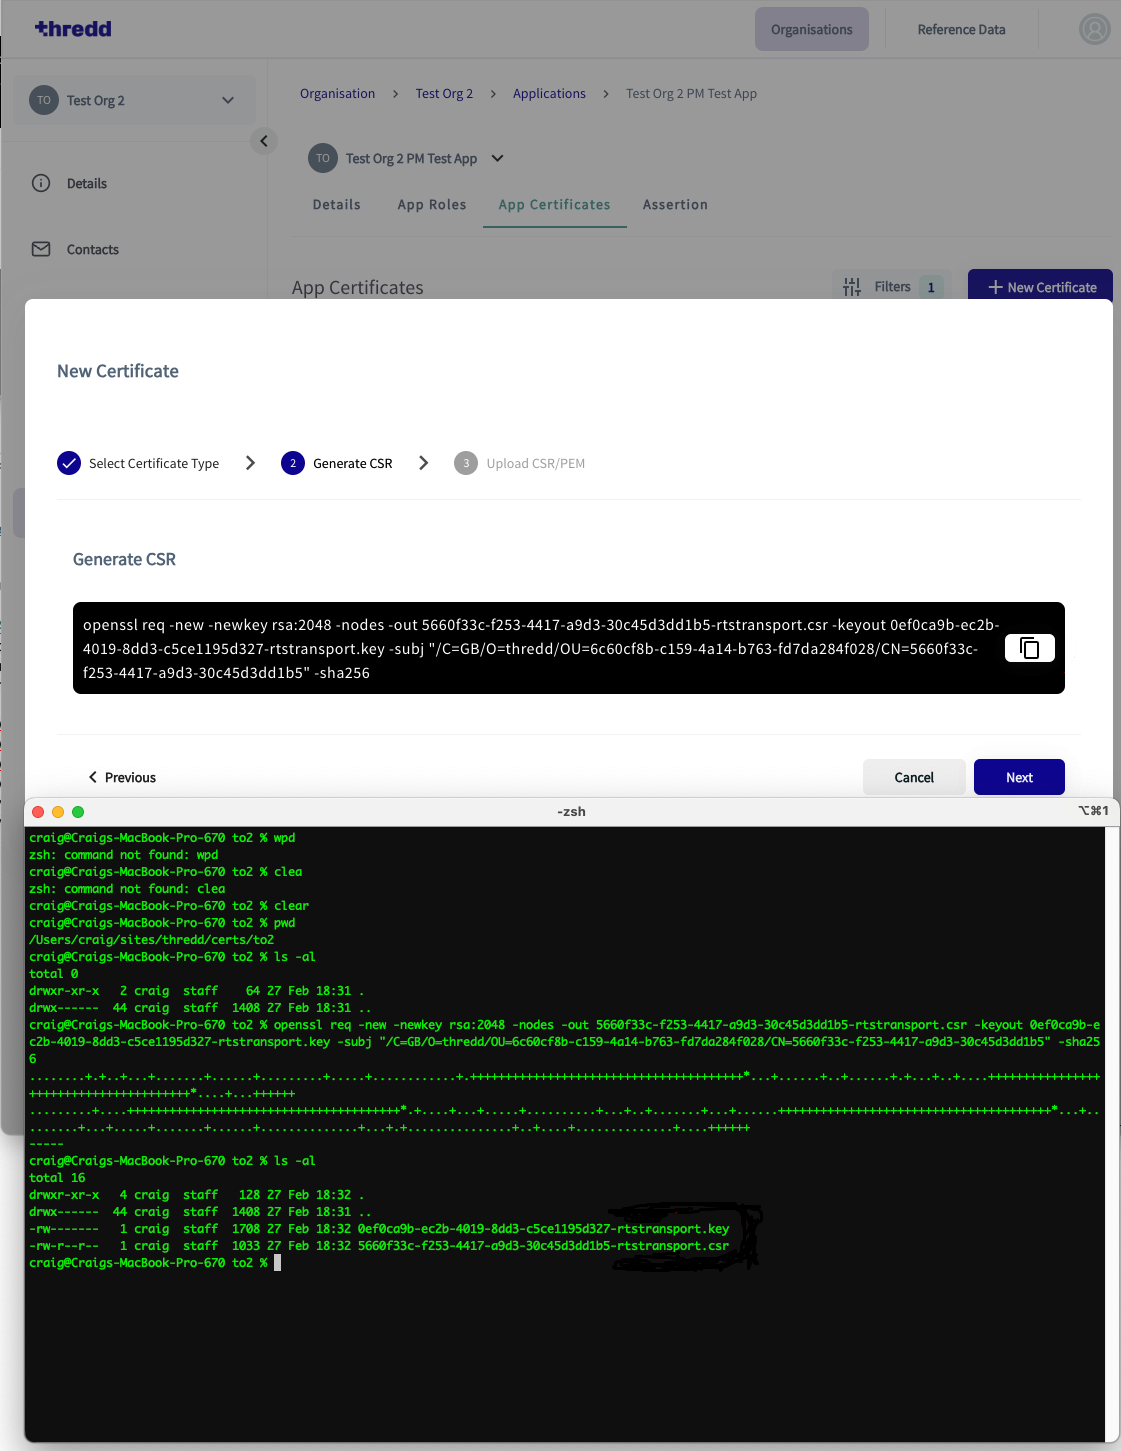
Figure 6: Terminal Window showing new command pasted into the prompt line
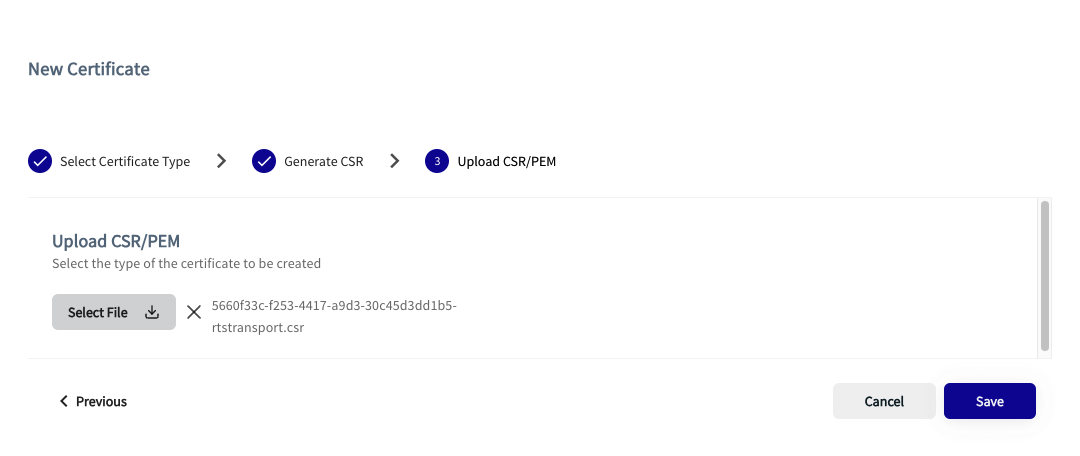
- Click Next when the private key and CSR are generated, and select your CSR file for upload. Once selected, the CSR file appears on the screen.
- Click Save. The signed x.509 certificate appears in your certificate list.
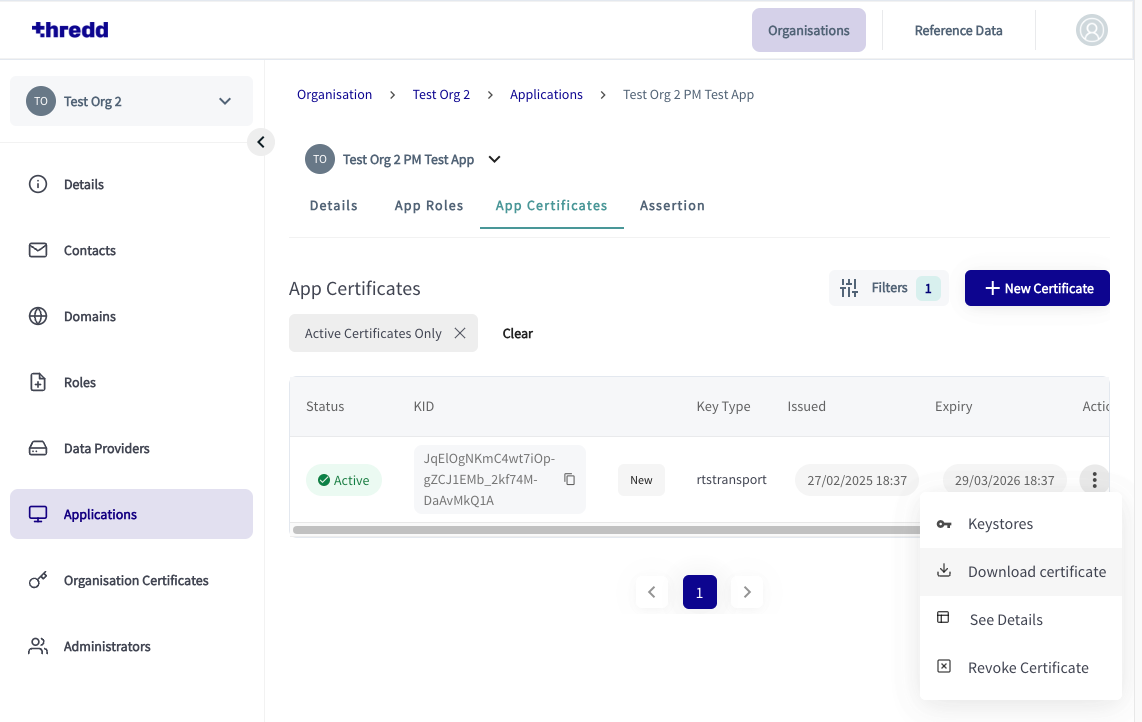
- Download the certificate and move it to the same folder as the private key and CSR.
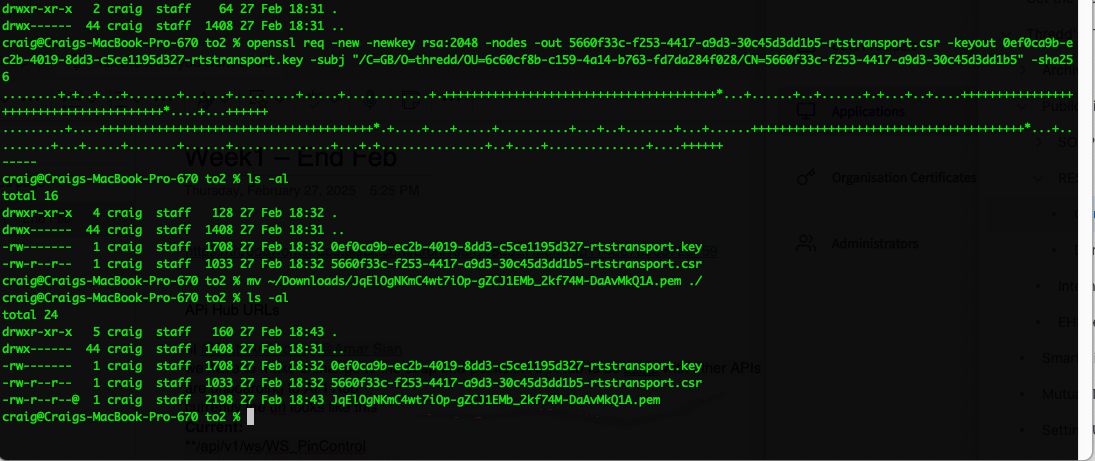
Figure 7: Open dialog box where you can select your CSR
You can now use the certificate as a Transport Certificate for any OAuth 2.0 client applications.
3.2.5 Step 4. Create a Signing Certificate
Client applications also require a Signing Certificate for signing assertions sent to the Authorisation Server. The private key for the signing certificate is used to sign client assertions for authentication as part of the token generation journey.
You need to repeat the steps described in Step 3. Create a New Transport Certificate. When selecting from the Select Certificate Type drop-down menu, select Signing in place of Transport.