Analytics Configuration
This section of the user guide describes how to create, configure and manage rules, aggregators and other analytics, as well as the process for reviewing and authorizing changes to your portal analytics configuration.
Click Analytics to open the Analytics section of the UI.

The portal has a built-in workflow for modifying analytics configuration (risk thresholds, rules, aggregators) and reviewing and approving these changes. Any changes to analytics configuration are made in a staging environment. These changes are not live (and hence do not affect the generation of alerts, the assignment of tags) until they are submitted for review and then approved by a user with the appropriate permissions.
There are two ways to configure the portal's user roles and permissions to ensure a "four eyes" authorization process.
-
Risk analyst makes changes and risk manager approves them
-
Risk manager makes and approves their own changes
The default approach is to have two different user roles, one with permission to make analytics changes and submit them for review (but not approve or reject those changes), such as a Risk analyst, and one with permission to approve or reject changes (but not submit them for review), such as a Risk manager. This means that a user with one role can make changes in the staging environment but not approve/reject, and a user with the second role can approve changes but not make them.
A different approach is to enable users with a specific role (for example, Risk Manager) to make changes, submit them for review, and approve or reject analytics changes, through granting them both the 'Analytics Version Acceptor' and 'Analytics Version Creator' permissions. This enables an individual user to make analytics changes and submit them for review, but not approve or reject an analytics staging version that contains changes they made. This means that a user can approve or reject changes made by other users, but never their own changes, ensuring a "four eyes" authorization process.
There is a third permission, Accept or reject own analytics changes, which enables a user to accept or reject an analytics version that they have made changes to. Whatever the configuration of your other user roles, a user with all three permissions can push changes directly from staging to live without needing another user to review them.
Changing Analytics Config Group
The Overview field displays the current ACG you're viewing the analytics for. Use this page to manage the analytics for the ACG.
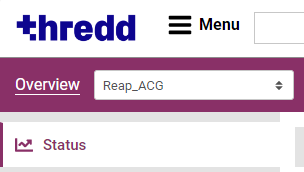
You can switch between the different ACGs you have permissions to use by clicking the field and selecting the ACG you want to view.
Viewing Analytics Versions
The Analytics section of the UI has a unique feature – the Analytics version bar, which appears at the top of the section, between the portal header and the main page and sidebar. When you first open the Analytics section, you are viewing the staging environment. This is where you can make changes to analytics configuration.
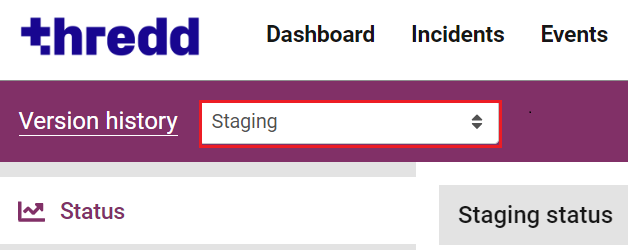
You can navigate the Analytics staging environment (and other analytics versions) in the same way as any other UI section. Links in the sidebar allow you to navigate to the individual pages for viewing the different kind of analytics configurations, and changing the configurations in staging.
When viewing the live environment, or a historical version, you will not be able to make any changes, only review the configuration of the various analytics.
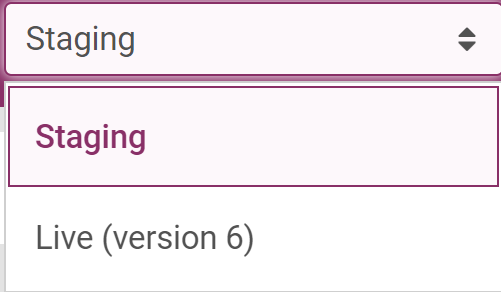
To view different versions of your analytics configuration:
-
Click the Version history field.
-
Click the version you want to view in the menu.
Analytics configuration can only be edited in the Staging environment.
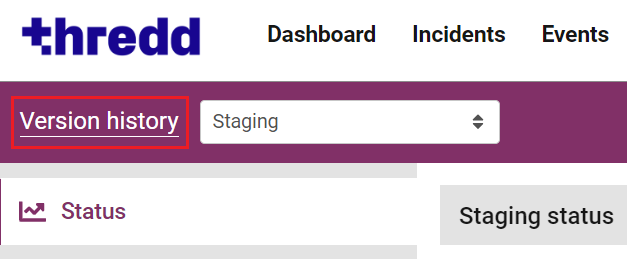
You cannot make changes when you view the live environment or a historical version, only review the configuration of the various analytics. Click the Version history button to see a full list of historical analytics versions.
The analytics header bar will change colour to pink when you view the live analytics configuration, and show the date and time the current configuration was reviewed and approved. The username of the reviewer will appear on the right.

Viewing a historical analytics configuration version
To see a historical analytics configuration version click the Version History button.
When viewing a historical version, the analytics header bar will change colour to grey. The user who reviewed the changes will show on the right, with the date and time changes were reviewed.
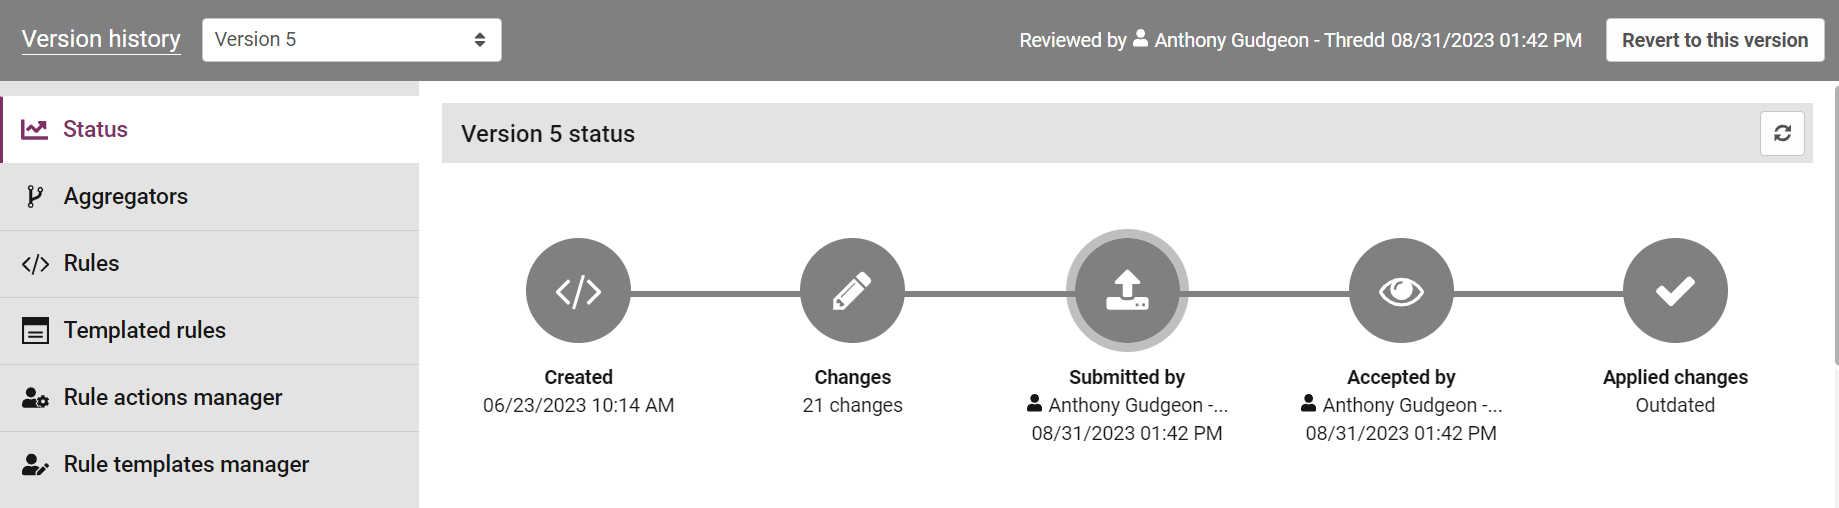
The version status will be shown in the flow chart. The decision after reviewing changes can be either:
-
Approved: the changes in this version were approved and promoted to the live environment.
-
Rejected: the changes in this version were rejected and did not go live.
-
Cancelled: the user who originally submitted this version for review cancelled the review before it was approved or rejected.
Business Rule Profile
The Business Rule Profile section, below the version status section, contains information on global behavioral profile data (global states) stored for all entities. Global states build up population-level entity profiles over time as more behaviours are captured. The exact definition of what population-level data is stored and displayed is controlled by expressions which are written and managed in the Rules page, in the Analytics section.
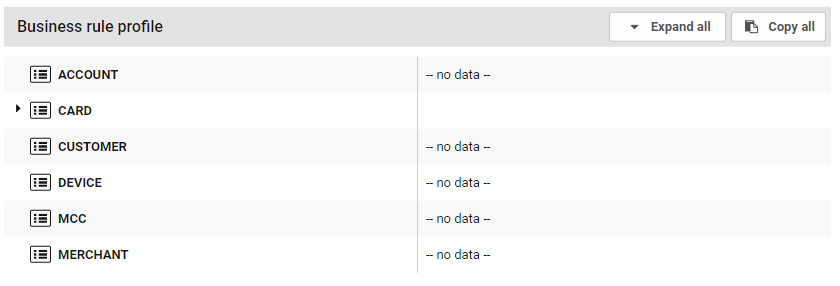
Data stored by global states for each entity type is displayed in two columns:
-
The left column indicates the variable name
-
The right column displays the stored data

This data may be one of the following types, as indicated by the icon to the left of the variable name:
-
String (including time stamp data)
-
Integer
-
Number
-
Boolean
-
Collection of multiple values
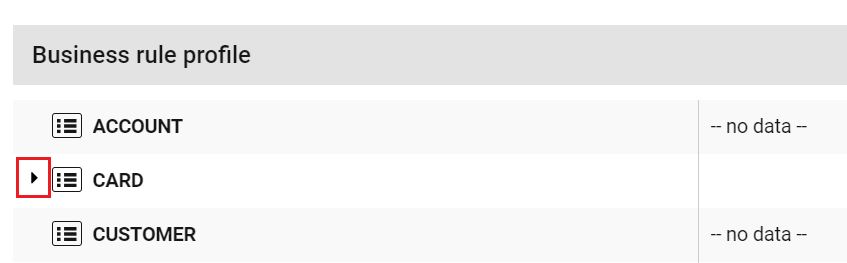
Collections containing multiple values will by default be displayed in collapsed form.
To expand a collapsed collection and show the individual elements, click the right-facing arrowhead to the left of a collapsed collection's name.
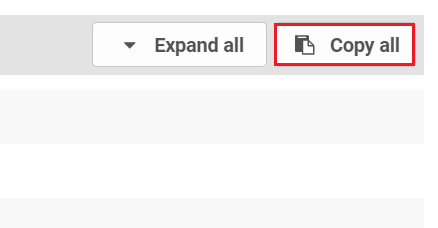
To expand all collections shown in the Business Rule Profile, click the Expand all button at the top of the Business Rule Profile section.
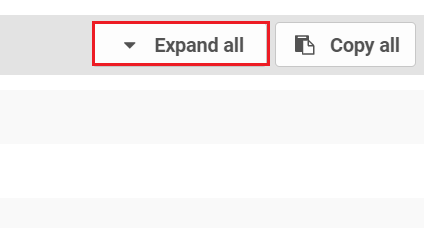
To copy the entire global state profile to the clipboard, click the Copy all button at the top of the Business Rule Profile section.
To copy an entity type's global state or individual value to the clipboard, including all variables, hover your mouse cursor over an individual entity type or value in this section. Then click on the clipboard and paper icon.

Viewing changes made to an aggregator
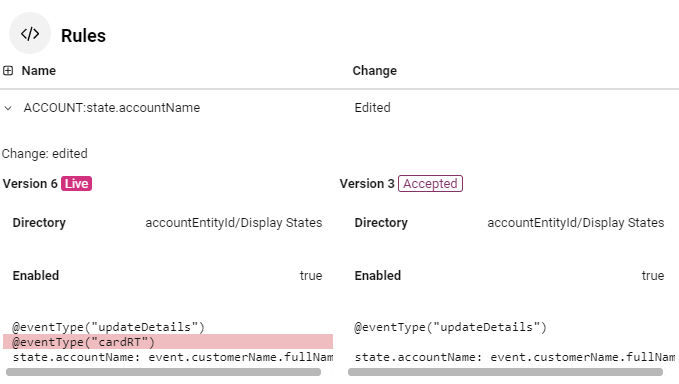
To see the changes made to a specific aggregator, feature, rule, model, or Analytical Workflow, click anywhere on the row showing the name of the relevant analytic.

The differences between the staging configuration and the version you are comparing to display underneath. Elements that are present in the version you are viewing but not in the previous version (i.e. elements that have been added) are highlighted in green; elements that are present in the previous version but not in the version you are viewing (i.e. elements that have been removed) will be highlighted in red.
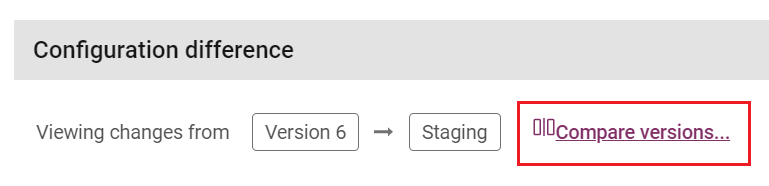
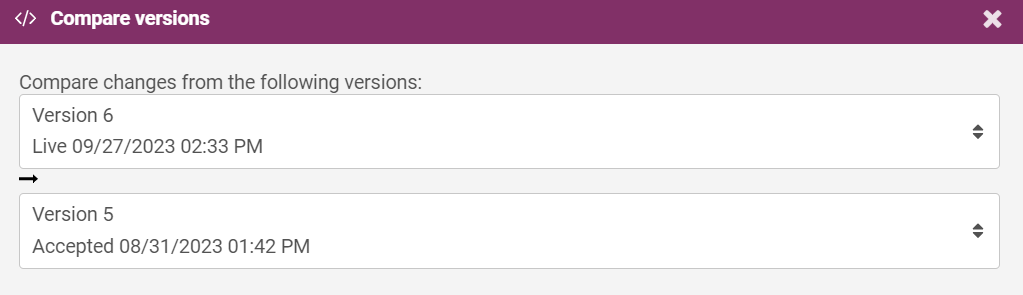
To view the differences between historical versions, click the Compare Versions button.
A window will display, where you can select the versions to compare.
Configuration Difference
The Configuration Difference section at the bottom of the page shows how the analytics configuration in the version you are viewing differs from the previous or another version. For example, on the staging environment, you can see the differences between the staging environment and the live environment. If you view the live environment, you can see the differences between the live environment and the previous analytics configuration version.

Configuration Difference displays a list of the changes, categorized based on the various analytics configuration pages. Each row shows the name of the analytic that was changed, and the type of change:
-
Added - for an aggregator, feature, risk level, model, rule that is present in the configuration version being viewed, but not in the previous version.
-
Removed - for an aggregator, feature, risk level, model, rule that is present in the previous configuration version, but not in the version being viewed.
-
Edited - for an aggregator, feature, risk level, model, rule that is present in both the configuration version being viewed and in the previous version, but has been edited in one way (e.g. a risk threshold changed, or a rule altered, activated or deactivated).
BIN Attacks
A BIN attack is a type of automated card fraud attack that if successful can affect hundreds or even thousand of cards and customers, and have a potentially catastrophic impact. BIN attacks are ultimately an attack on the card issuer, but can affect merchants and/or card acquirers, as fraud losses can potentially be 'charged-back' by the card issuer.
BIN attacks can occur by:
-
Targeting a bank's BIN
The fraudster chooses a financial institution to target, and acquires their Bank Identification Number (BIN). These numbers are public knowledge, so they are very easy to acquire and serve as an ideal starting point for someone attempting to perform a brute-force attack.
-
Generating possible card numbers with software
The BIN is only a portion of the full card number, so the fraudster has to generate possible account numbers for the card. While this can be done manually, typically, fraudsters employ software to generate possible card numbers based on the BIN they are targeting. This enables the fraudsters to generate thousands of potential card combinations for the financial institution they are attacking very quickly.
-
Testing BINs
When the fraudsters have generated card numbers, they need to test to ensure that the credentials work and they can complete a purchase. Essentially, they are verifying which cards can be used for fraud. The fraudster will perform a series of small transactions with each number until they succeed.
-
Perform Fraudulent Transactions
When a card is successfully used to make a fraudulent transaction, the fraudsters store the information so they can make further fraudulent transactions with it. This is so that when they’ve tested the card works and have the proper credentials, they can begin to commit fraudulent transactions. The fraudster can then continue to commit fraud using the stolen credentials until the card is cancelled or the authentication credentials are changed.
To protect against BIN attacks issuers need to adopt a multi-layered strategy including product design, authorisation system strategies, real-time fraud detection, and tried-and-tested response processes.
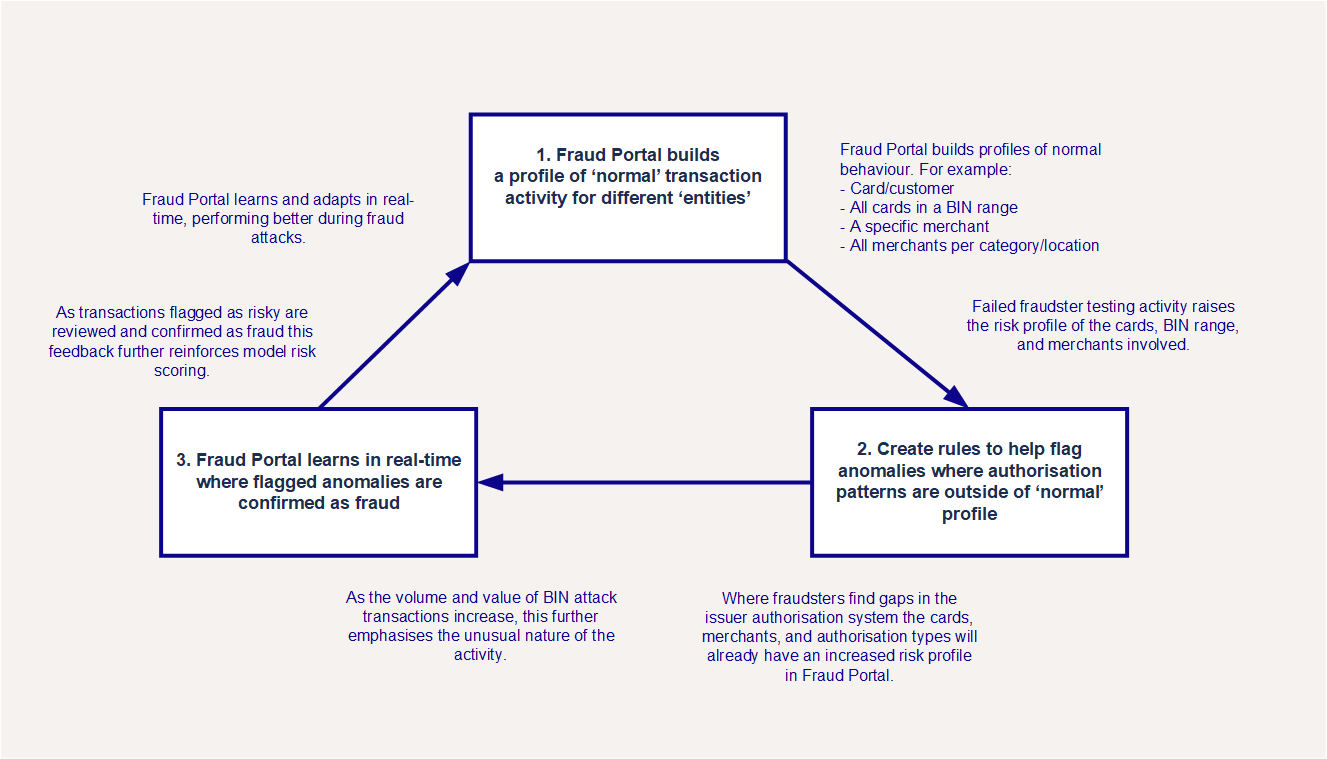
The Fraud Transaction Management Portal is well-placed to defend against BIN attacks, helping to overcome weaknesses in issuer or acquirer defences. The Portal uses a unique Adaptive Behavioural Analytics approach that profiles ‘normal’ behaviour and identifies anomalies, with rules that are able to learn in real-time.
How Thredd can Help Mitigate BIN Attacks
The Adaptive Behavioural Analytics approach flags anomalies where flagged transactions confirmed as fraud provides real-time feedback to the model, which can prevent fraud attacks from scaling. As flagged transactions are confirmed as fraud this provides real-time feedback to the model, which can prevent fraud attacks from scaling.
You can help to prevent BIN attacks by setting up rules in Fraud Portal to capture them. For example, when several low volume authorisations happen for the same value in a very short space of time we recommend setting up stateful rules to manage this. Attacks like card testing and enumeration are different from normal cardholder behaviour, so you can use stateful rules to detect these attacks in real-time. These rules use constantly updating entity profiles to check if a merchant is under attack, returning a BIN attack tag alongside the model score.
For example, if a rule detects 10 declines with a response code of 14 from 10 different cards in 30 seconds, it flags the merchant as under attack and a BIN attack reason code is applied. If the rule doesn't trigger again in 3 hours, then the merchant is no longer considered as under attack. It will be scored normally by the model in either case.
For information on how to build rules that can help prevent BIN attacks, see the Fraud AMDL Rules Configuration Guide.