Viewing Events
The Events page displays a list of all historical events retained by your Fraud Transaction Monitoring System (events are stored for 90 days unless it is an alert, which is stored for a duration in line with our data retention policy). The page also displays the results of searches carried out using the search box in the header bar at the top of all pages of the portal.

Figure 8: Events page
No events are displayed in the list until you either run an events search or filter the list.
You can configure the columns of the events list, so the columns you see may not be exactly the same as the columns described below. By default, the events list shows:
-
Entity IDs: The columns on the left show the IDs of the entities involved in the events. There is one column for each entity type in your system.
-
Event Type: The type of event.
-
Event Time: The date and time the event occurred.
-
Searchable fields: By default, all searchable fields are available as columns in this view.
-
Risk scores: The columns on the right show the overall risk score assigned to this event by analytics assigned to each entity type.
To view the incident page for an entity associated with an event: click the entity ID of the relevant entity.
Searching for Events and Entities
You can use the search box in the header of any page of the portal to search for entities and events. You can search by entity ID, or build searches to find events and entities that match a particular criteria.
To expand the search box: click the search box bar.

Figure 9: Search Box
The options below the search box are divided into three sections:
-
Fields: a list of all the searchable fields in your system. You can search for values in any of these fields.
-
Operators: a list of operators you can use to construct searches and combine criteria.
-
Search preview: this section displays up to ten entities with events in their histories that match your search. It also shows the number of events that match your search.
Refer to the table below for search options.
|
Search Option |
Description |
|---|---|
|
Search for a value in any searchable fields |
Type the value into the search box. For example, to find all events that contain 'John' in any event field, type John. Put double quotes around values that contain spaces. For example, to search for all events that contain 'John Smith', type "John Smith". |
|
Search for a value in a specific field |
In the Fields section below the search box, click the name of the field and then enter the value you want to search for. For example: "Customer Name":"John Smith" Put double quotes around search terms that contain spaces. |
|
Search for part of a value |
Use the asterisk wildcard (*) to represent any text. For example, to find any event where the 'Customer Name' field begins with 'John', use the following search: "Customer Name":John* |
|
Search in fields that contain dates or date-times |
Use yyyy-mm-dd format. |
|
Search for events between two dates |
Use the format '[ from date TO to date ]'. For example, "from 2023-12-01 TO to 2023-12-30". |
|
Search for a number greater than or less than a specified value |
Use the operators listed in the Operators section below the search box, such as 'greater than' or 'less than'. You can insert operators by clicking on them, or by entering them manually. For example, to search for events where the value in the 'Amount' field is greater than 150, use the following search: "Date of birth":[ 1980-01-01 TO 1989-12-31 |
|
Link multiple search terms together |
Use 'AND' and 'OR'. You can also use 'NOT' to exclude certain terms. You can type the word 'AND', 'OR', or 'NOT', or click the operators in the 'Operators' section below the search box. For example, to search for 'John Smith' in the 'Customer Name' field, and 1st January 1980 in the 'Date of birth' field, use the following search: "Customer Name": John* AND "Date of birth": 1980-01-01 |
Viewing Events that Match your search
-
Press Enter on your keyboard or click
 .
. -
In the 'Search Preview' section, click Events at the bottom of the section.

The results of your search are displayed in the Events page. A summary of your search query is displayed above the events list.
-
To view the incident page of one of the suggested entities: in the 'Search Preview' section, click that entity's ID.
-
To clear your search results: on the events page, at the right of the search box, click the X button.
Filtering the Events List
As well as searching for events and entities using the search box, you can use the filter options in the sidebar on the left.
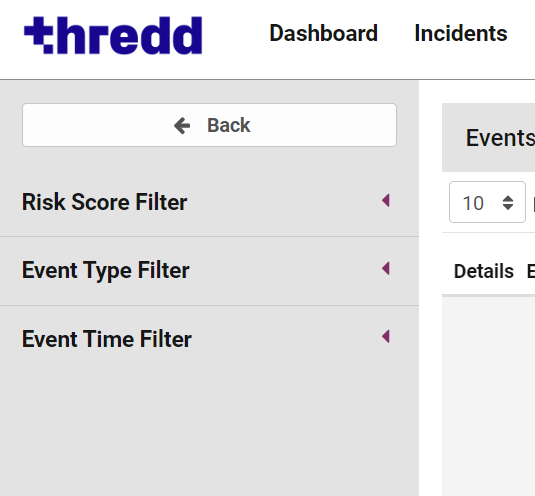
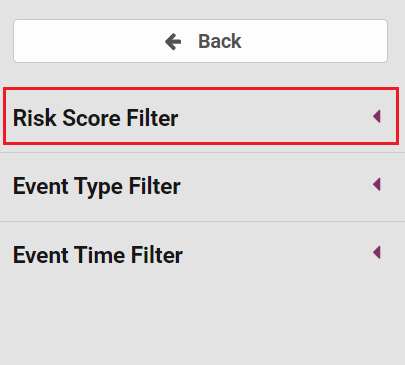
Figure 10: Filter sidebar
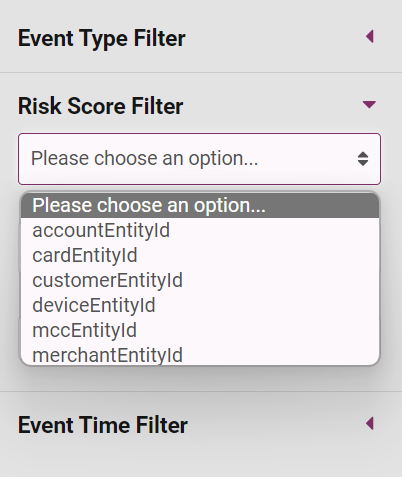
Filter by Risk Score
To filter the events list by risk score:
-
In the sidebar, click Risk Score Filter.
-
If you have risk scores for more than one entity type, select the relevant entity type from the drop-down menu.
-
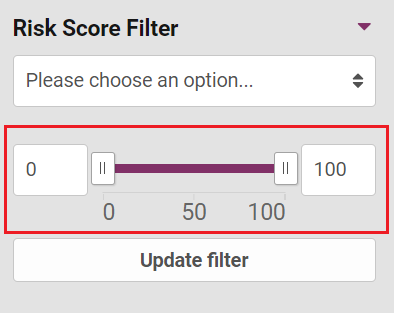
Set the range of risk scores for the filter by either dragging the sliders or by manually entering the maximum and minimum values.
-
Click the Update Filter button.
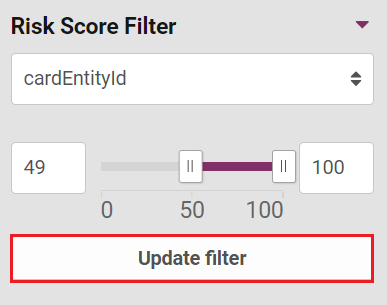
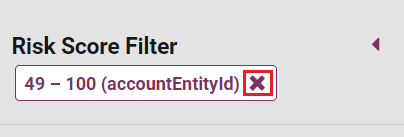
The filter appears at the bottom of the Risk Score Filter section, which you can remove by clicking X on the filter.
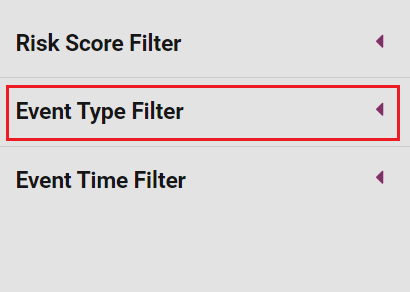
Filter by Event Type
To filter the events list by event type:
-
In the sidebar, click Event Type Filter.
-
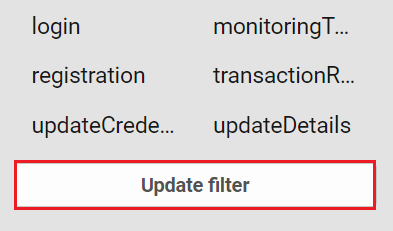
(Optional) Use the search box to find the event types you want to show or hide.

Only cardRT,cardNRT and transactionReturn event types are currently supported.
-
(Optional) use the All and None options to select or clear the selection of all the event types. Note that when all event types are deselected, all event types are displayed in the events list.

-
Select or deselect the event types that you want to show or hide in the events list.

-
Click Update Filter.
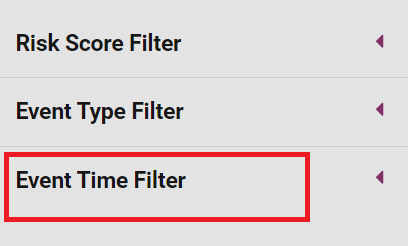
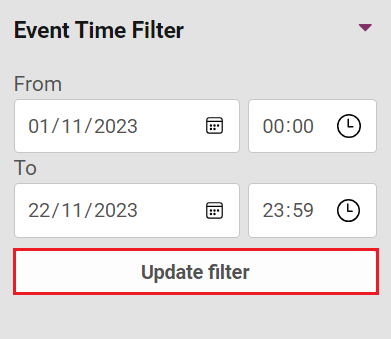
Filter by Event Time
To filter the events list by the time of the event:
-
In the sidebar, click Event Time Filter.
-
In the 'From' and 'To' boxes, enter start and end dates, or select dates from the drop-down calendars.

-
Click Update Filter.
View Active Filters
You can see what filters are currently active by clicking the Active Filters button at the top right of the events list.
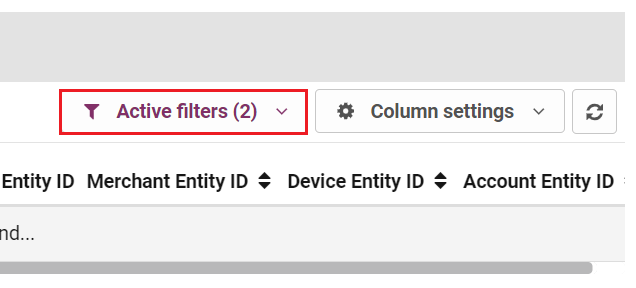
As each active filter in the sidebar displays a summary box below it, you can also tell from this which filters are currently active.
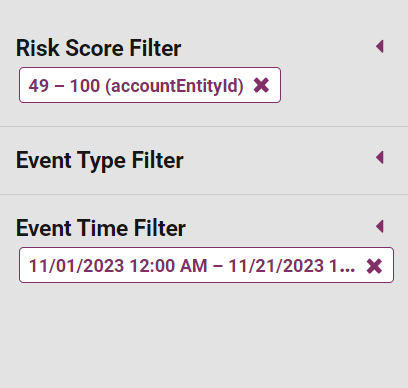
Although you can apply multiple filters, there can only be one filter for each category (risk score, event type, or event time).
Remove a Filter
To remove a filter, click on the X beside the filter you want to remove.
Alternatively, you can remove a filter by clicking the X beside the filter in the Active Filters drop-down.

Using the Event Details Sidebar
To see more details of a specific event, click the row for the event in the list. On the right of the page, the event details sidebar opens.
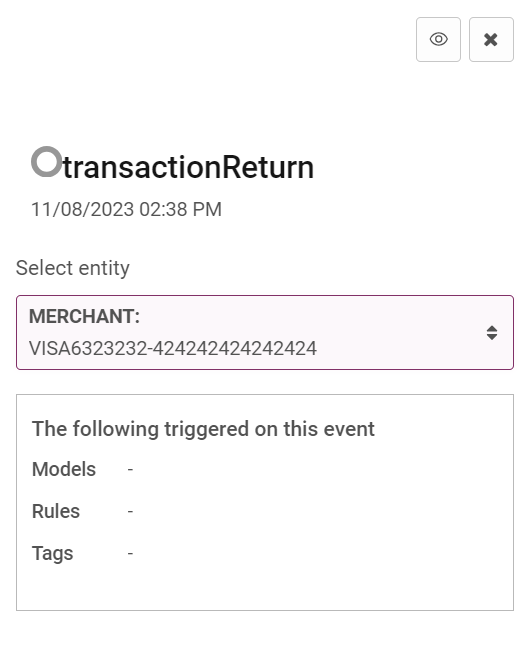
Figure 11: Event Details sidebar
The event details sidebar in the Events page is similar to the event details sidebar in the Incident page. You can use it to see what models and rules have triggered on the event and what tags have been added. You can also use the sidebar to see detailed information about the event.
To switch between entities: in the Select entity field, select the appropriate entity.

The list of models, rules and tags displayed in the event details sidebar is updated to show items relating to analytics associated with the selected entity.
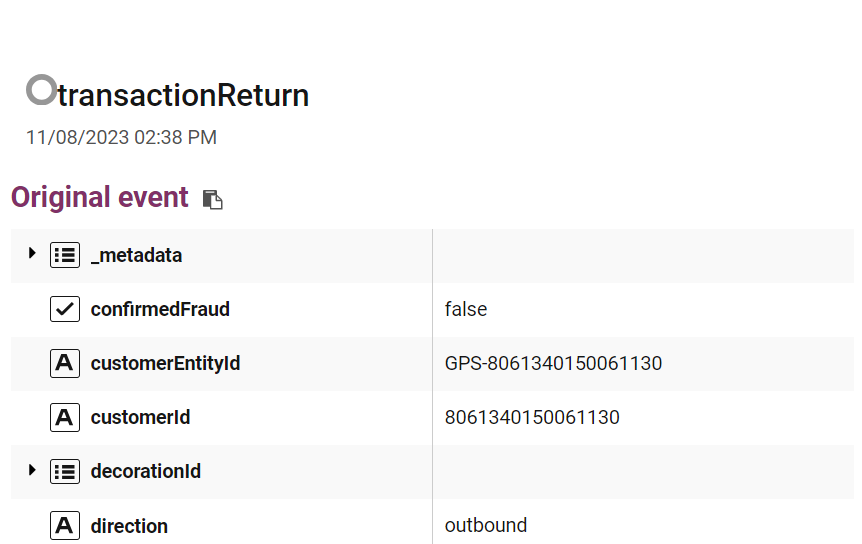
To see detailed information about an event, click the Eye button at the top of the sidebar.
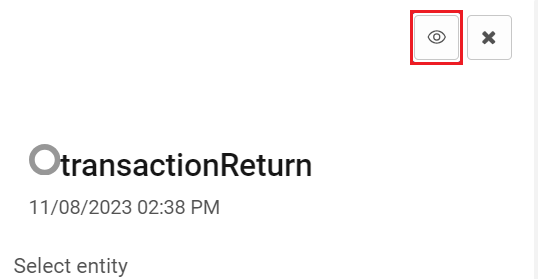
The original event data keys (field names) are shown on the left. The corresponding values are shown on the right.
To return to the simple sidebar view, at the top of the sidebar click the Eye button.
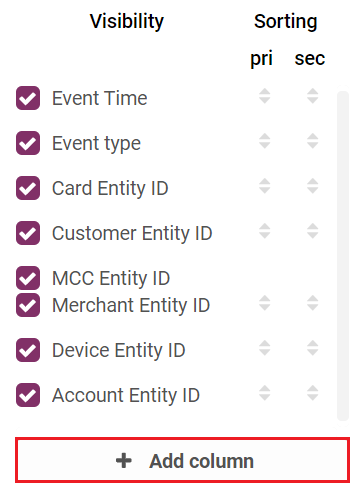
Column Settings
You can use the column settings options to show or hide columns in the events list, add new columns, or sort the events list by up to two columns (a primary column and a secondary column. See Sorting Events by Columns for more information). Open the Column Settings window by clicking on the Column Settings button.
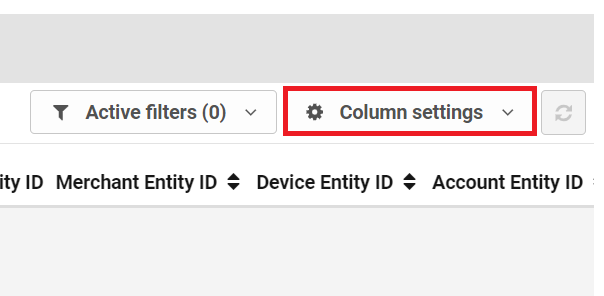
To show or hide columns in the events list, use the check boxes on the left of each column name to select which columns are visible in the events list.

Add Columns to Events List
There is potential for issues to arise when adding columns. We advise speaking to your Account Manager before attempting to make any changes.
To add additional columns to the events list:
-
Click Add Column in the Column Settings drop-down.
-
Enter a name that displays at the top of the column in the Name field.

-
Enter the path to the field that you want to display. For example, if the event data field is called 'Fee Value' and is nested in the field 'Fee', enter fee.value.

-
Click the Create button.
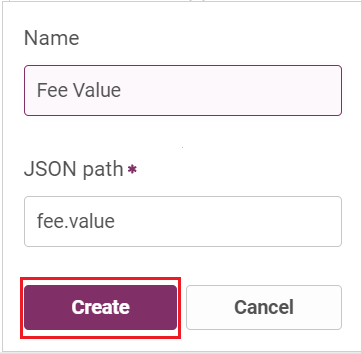
The new field appears in the Events List.
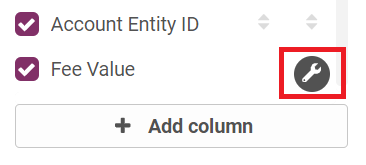
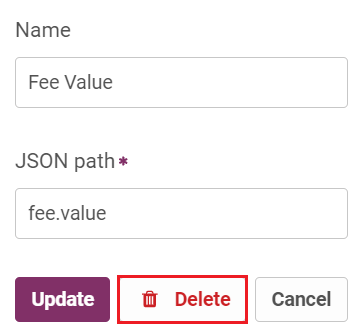
Edit a Column
To edit an added column:
-
Click Column Settings.
-
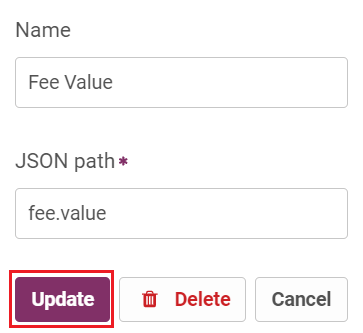
Click Edit to the right of the column you want to edit.
-
Edit the column name or path, and then click Update.
Delete a Column
There is potential for issues to arise when deleting columns. We advise speaking to your Account Manager before attempting to make any changes.
To delete an added column:
-
Click Column Settings.
-
Click Edit to the right of the column you want to delete.
-
Click Delete.
Sorting Events by Columns
You can sort columns by using the primary (pri column) and secondary (sec column) attributes. You can only select one primary and one secondary column from all available columns.
Select the primary attribute for a column to sort according to this column. For example, if sorting by Last Alert Time, incidents with the newest alerts (if sorting in descending order) will be shown at the top of the Incident List.
Select the secondary attribute for a column to sort the column as the secondary sort attribute. If two or more items in the list have the same value of the primary sort attribute, they will be sorted according to this column.
To sort the events list by two columns:
-
Click Column Settings.
-
Use the arrow icons in the pri column to select a column for primary sorting and its sort order as ascending or descending.

-
Use the arrow icons in the sec column to select a column for primary sorting and its sort order as ascending or descending

The changes you make to the events list are specific to you.