Settings
The Settings section of the Portal enables you to configure the appearance and features of the portal. You can also use this section to manage incident filters, data lists, and teams.
Incident Filters
The Incident Filters page allows you to view a list of incident filters that are currently available. You can configure a filter for incidents here, which appear in the Incidents section sidebar.
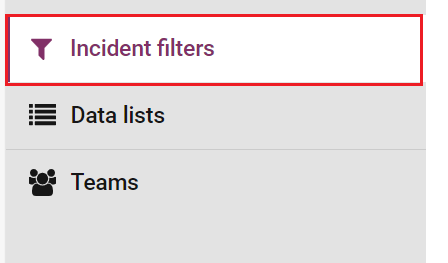
To access the Incident Filters page and view a list of incident filters that are currently available in the sidebar on the left, click the Incident Filters option in the sidebar.
Create an Incident Filter
To create a new filter:
-
Click the Create Incident Filter button.
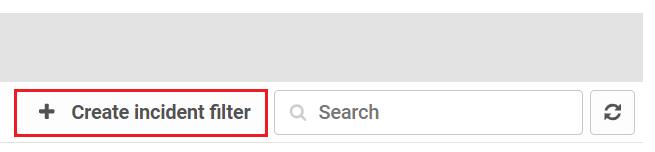
The Create incident filter page opens.
-
Enter the name of the incident filter in the Name field.

-
Enter the mode of the incident filter in the Mode field. Select from:
-
By Type enables you to create a filter that only shows incidents related to a specified entity type.
-
Identifier enables you to create a filter than only shows incidents related to a specified entity.
-
Unrestricted is the default option, and enables you to create a filter that shows incidents related to any entity.

-
-
(Optional) Set whether the filter should include only unreviewed alerts by selecting the Include only unreviewed alerts check box. If this check box remains selected, the filter displays incidents that contain one or more unreviewed alerts that match the specified filter conditions.

-
If you selected the By Type mode, select an entity type from the Entity type drop-down field.

-
If you selected the Identifier mode, select an entity identifier from the Entity identifier field.

-
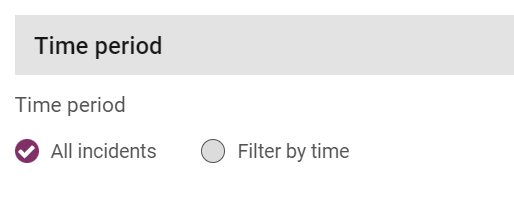
Set the time period for the filter. Select from:
-
All incidents
-
Filter by time
If you want the filter to only include incidents that occurred in a specified time frame, select the Filter by time option, followed by one of the following options:
-
Exclude latest incidents lets you enter an exclusion period in days, hours or minutes. Any incidents that occurred within this period are excluded. For example, if you set the exclusion period to 1 day, any incidents that occurred in the last 24 hours are excluded.
-
Exclude oldest incidents lets you enter an inclusion period in days, hours or minutes. Only incidents that occurred within this period are displayed. For example, if you set the inclusion period to 1 day, only incidents that occurred in the last 24 hours are included by the filter
-
Exclude oldest and latest incidents lets you enter an inclusion and exclusion period in days, hours or minutes. The exclusion period defines an interval up to the current time. The inclusion period defines an interval up to the beginning of the exclusion period. Incidents are only included if they occurred in the inclusion period. For example, if you set the inclusion period to 2 days and the exclusion period to 3 days, only incidents that occurred between 3 and 5 days ago are displayed.
-
-
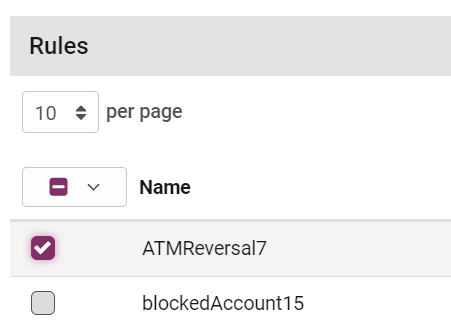
(Optional) Select the rules you want to include in the filter from the Rules section. The filter shows incidents containing one or more alerts that the selected rules have triggered on (or that match tag or team conditions that you have also added to the filter). If no rules are selected, the filter applies any conditions based on rules.
You can select a rule to be included by clicking the check box to the left of the rule name.
-
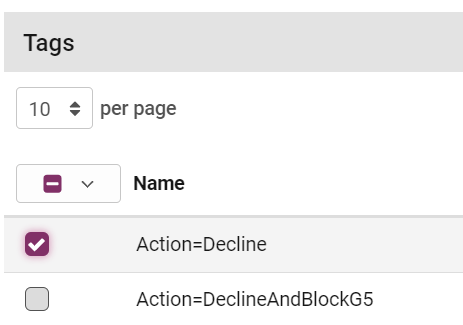
(Optional) Select the tags you want to include in the filter from the Tags section. The filter shows incidents containing one or more alerts that have a selected tag added to them (or that match rule or team conditions that you have also added to the filter). If no tags are selected, the filter will not apply any conditions based on tags.
You can select a tag to be included by clicking the check box to the left of the tag name.
-
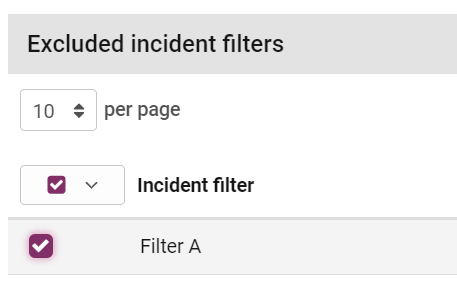
(Optional) Select incident filters you want to exclude from the filter from the Excluded incident filters section. Any incidents that match an excluded incident filter are displayed in this incident filter, even though they otherwise match the specified filter conditions.
You can select an incident filter to be excluded by clicking the check box to the left of the incident filter name.
-
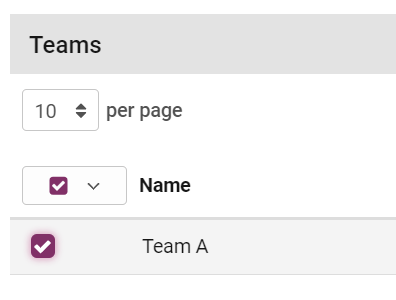
(Optional) Select the teams you want to include in the filter from the Teams section. The filter will only show incidents containing one or more alerted events that have been referred to one of the selected teams (or that match rule or tag conditions that you have also added to the filter). If no teams are selected, the filter will not apply any conditions base on teams.
You can select a team to be included by clicking the check box to the left of the team name.
-
Click Create at the top of the page.
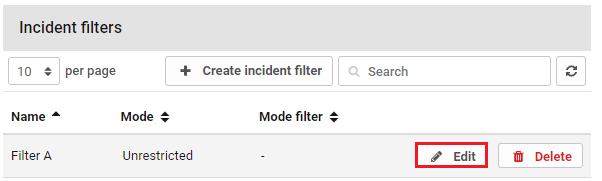
Edit an Incident Filter
To edit an existing filter, click Edit to the right of the filter in the Incident Filters list. You can configure and change any of the options described above.
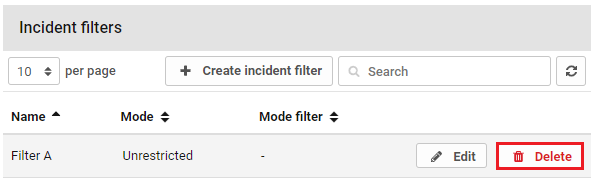
Delete an Incident Filter
To delete an incident filter, click Delete to the right of that filter in the Incident Filters list. You can confirm or cancel the deletion.
Data Lists
Data lists enable you to create lists of entities or other data, such as account IDs, email addresses, or IP addresses. This can be useful for creating negative lists or positive lists. Data lists can also be used to create more complex tables of information, to allow rules to look up information in a dynamic, multi-column table that can be updated manually or programmatically.
Users can manually create lists, import existing lists, or add event or entity data to lists from the Incident Review page.
A data list is organised as a table containing one or more columns. Each item in the data list forms a row in the table. Each item has an identifier, which must be unique (in a list of entities, this could be the entity ID). Each item can also have one or more properties, which form the other columns in the table. These properties are optional; only the identifier is required.
Data lists can be used by rules, where rule items can be added to data lists using AMDL expressions. The following are a couple of examples:
-
A rule might use a data list to check if an event originates from a suspect IP address
-
A rule might add a customer to a data list whose account has been suspended due to suspected fraud to a list of potentially compromised accounts
Open the Data Lists page by clicking the Data Lists option in the sidebar.

The following data list items appear:
|
Column |
Description |
|---|---|
|
Name |
The name of the list. |
|
Context |
The portal the data list belongs to. |
|
Full name |
The full name of this list to be used in Business Rules. If you want to refer to a public data list in a rule that belongs to a different portal from the list, you must use the reference given in the Full name column. |
|
Visibility |
Whether this list is private or public. Public data lists can be viewed by all users, and Private data lists can only be referred to by portal-level rules defined in the same portal as the list. |
|
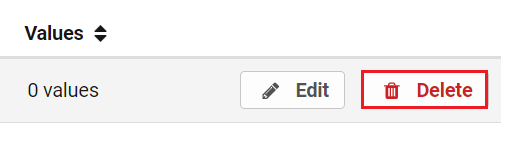
Values |
The number of entries in the list. |
Create a Data List
To create a new, blank data list:
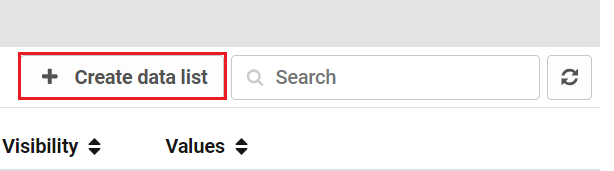
-
Click the Create data list button.
-
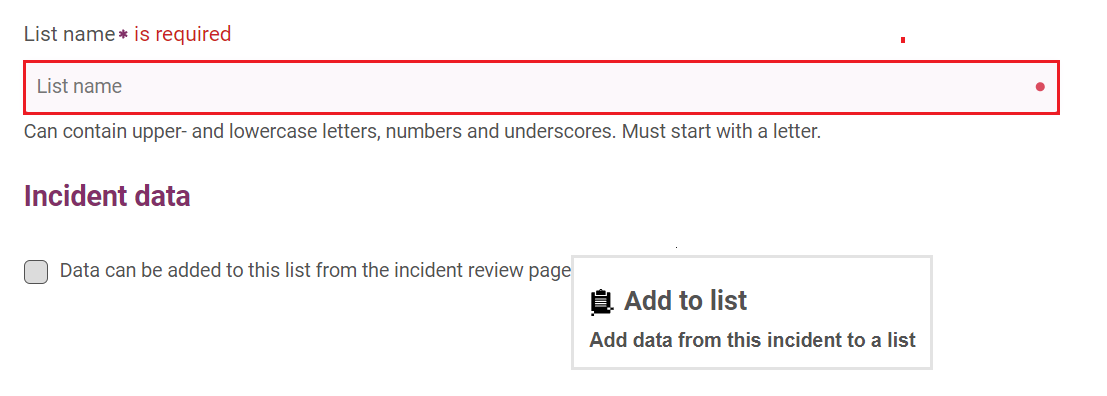
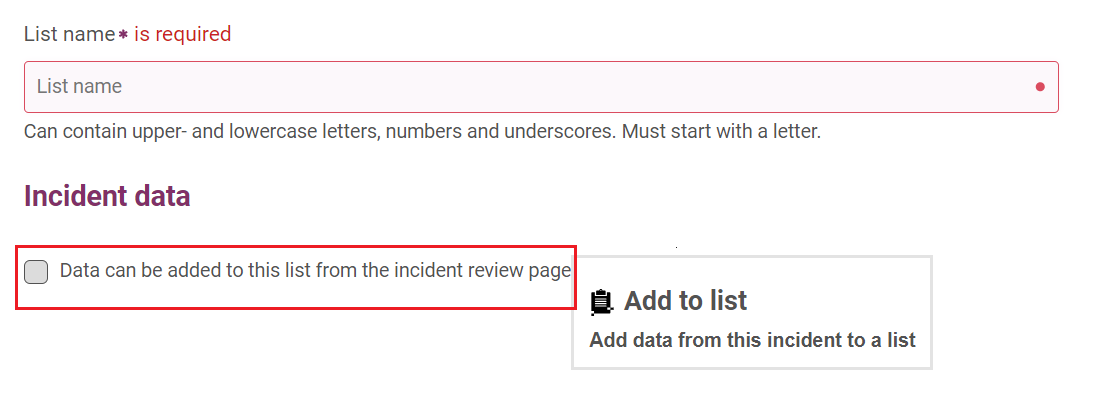
Enter the name of your new data list. This can only contain letters, numbers and underscores, and must start with a letter in the List Name field.
-
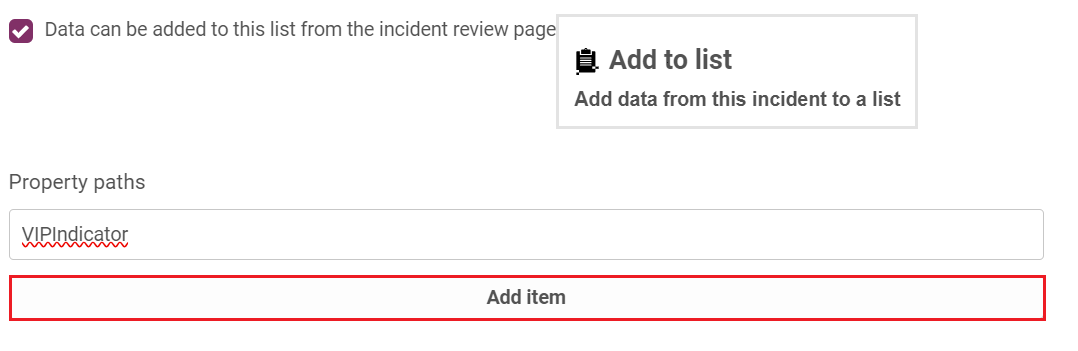
(Optional) To enable users to add items to the list when reviewing an incident, select the check box Data can be added to this list from the Incident Review page. See Add Values to a Data List.
To define which event data fields can be added to the data list, either select a path from the Property paths drop-down field, or enter the name of the path.
-
Click the Add Item button to add this event data field to the list of properties.
If the field(s) defined for this list appears in multiple events in the history of the entity in question, each unique value in any event generated by that entity will be displayed for the analyst to add to the data list. Some fields, such as entity ID, will only ever have one value; some, such as device ID, might have a limited list of unique values for each customer; others might only appear in one event type which occurs infrequently, or even only once (e.g. a customer registration date). These fields are often suitable for addition to a data list using the Add to List button. However, some fields (e.g. event date/time, transaction value) will have a unique value for a large proportion of events generated by that entity, and so are not suitable for adding to data lists in this way.
-
Click the Create button to save the data list.
Edit a Data List
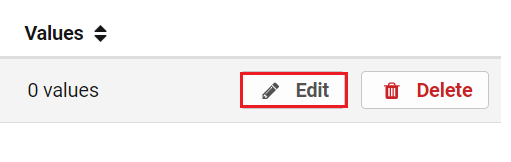
To change the properties of an existing data list, click Edit on the appropriate row of the list of data lists.
For more information, see Editing Data Lists.
Delete a Data List
To delete a data list: click Delete on the appropriate row of the list of data lists. You can confirm or cancel the deletion.
View and Filtering Data Lists
To view the items in a data list, click the name of the relevant list on the Data Lists page. This opens the List items page, as shown in the image below. You can also use the List Items page to edit and filter the list.
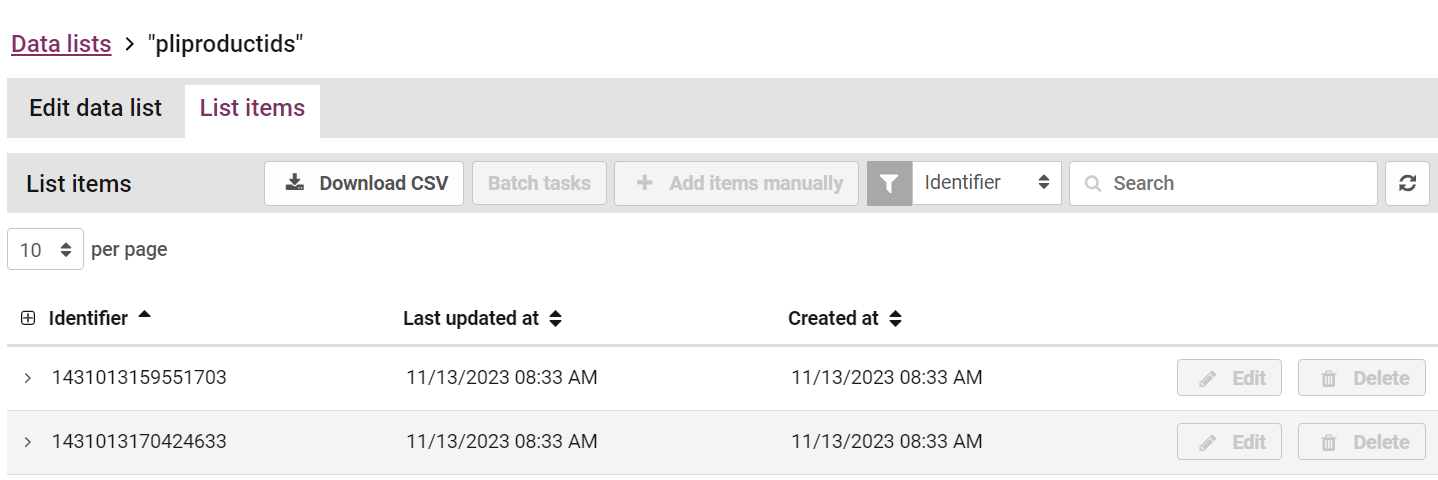
For each item in the data list, the List items page shows the following columns:
-
Identifier: The unique identifier for the item.
-
Last updated at: The date and time the item was most recently updated.
-
Created at: The date and time the item was added to the list.
You can sort the items by any of these three columns.
If the data list has multiple columns, the page also displays any additional columns. You can click the expand icon on the left of a row to see the username of the person who last updated the item and any comment they added when they made the update.
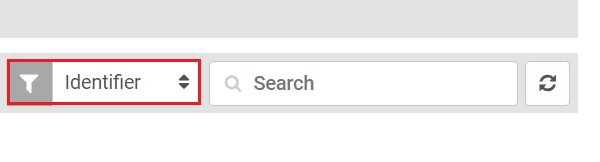
Filtering a data list by data column
You can filter the List items page to show only the items that contain a specified value in either the unique identifier column or any additional data column. To filter the list by these columns:
-
Click the Filter field and select the data you want to filter from the menu.
-
Enter a value in the Search field. When you finish typing, the list is filtered to show only those items where the selected column matches this value. Note that the filter is case sensitive.
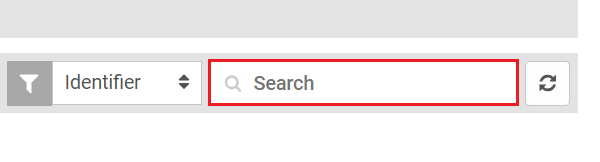
To remove the filter, on the right of the Search field, click Close.
Filtering a data list by time
You can filter the List items page by item update time or creation time, as displayed in the Last updated at and Created at columns. For example, you can filter the page to show only the items that were recently updated or only the items that were added in a date range.
To filter the list by time:
-
Click Filters.
-
Use the options in the Filters sidebar to filter by one of the following criteria:
-
Update Time: By setting a date/time range, you can choose to show only items that were last updated between two times.
-
Created Time: By setting a date/time range, you can choose to show only items that were added between two times.
-
Add Values to Data Lists
To manually add values to a data list:
-
Click on the Data List you want to add values to from the Data Lists page.

-
Click the Add items manually button.
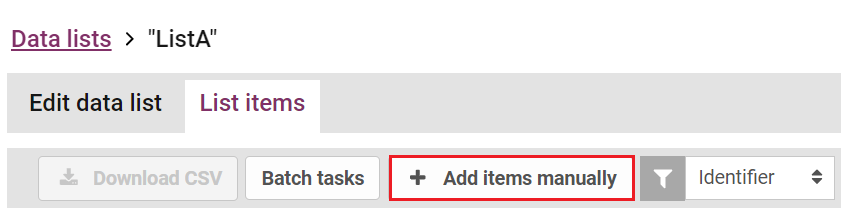
The Add Item window displays.
-
Enter the unique identifier for the data list item in the Identifier field. This cannot be the same as an existing identifier in the list.

The portal has no way to check whether the identifier is of the correct type. For example, there is no way to reject the addition of an IP address as the identifier to a list in which all the other identifiers are entity IDs. Therefore, you should take care when manually adding items to lists, to ensure that the correct identifier is used, and the list items can be utilised in rules.
-
(Optional) If the data list contains properties (i.e. other columns) already, specify a value for one or more of these in the Properties section by entering the value in the field next to the property name.

-
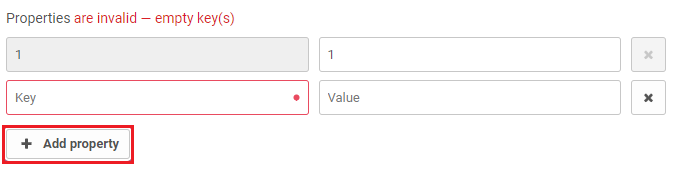
(Optional) Add a new property to this item by clicking the Add Property button. Enter the name of the new property (the column header) in the Key field, and the value for the new item in the Value field. You can remove any new properties by clicking the Remove button.
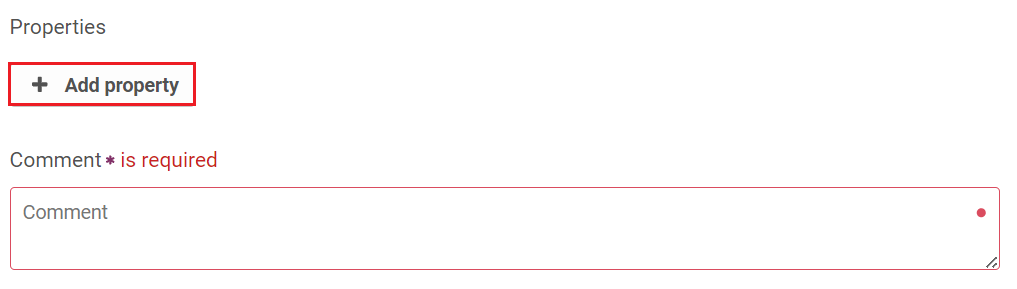
Because all properties are optional, no other items in the list will have a value for this property unless you edit those items subsequently.
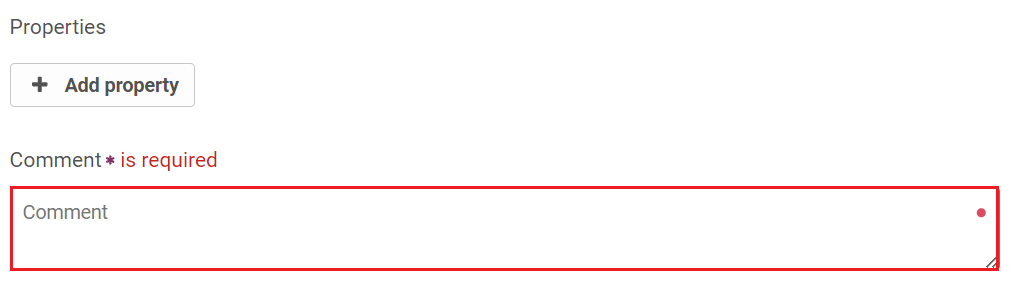
-
Enter a comment in the Comment field.
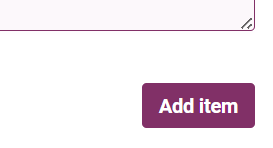
-
Click Add Item to add the new item to the data list.
Batch Import
Instead of manually adding values to a data list, you can import a Comma Separated Values (CSV) file. The CSV file must be arranged in one or more columns, and the first row must be a header row. One of the columns acts as the unique identifier for each row with the heading labelled _id. This method can be used to add values to an empty data list, or to an existing data list that already contains values.
If you need to import a data list with more than 100,000 entries, contact your Operations Manager.
To add items to a data list using the batch import method:
-
Create a blank data list (See Create a Data List).
-
Open the newly created data list from the Data Lists page.
-
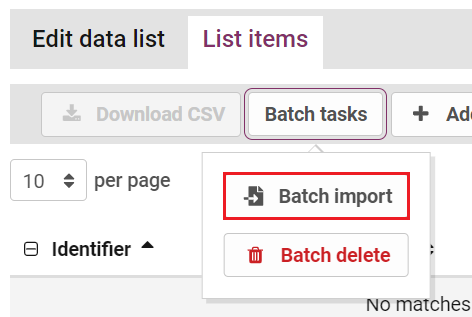
Click Batch Tasks and select the Batch Import option.
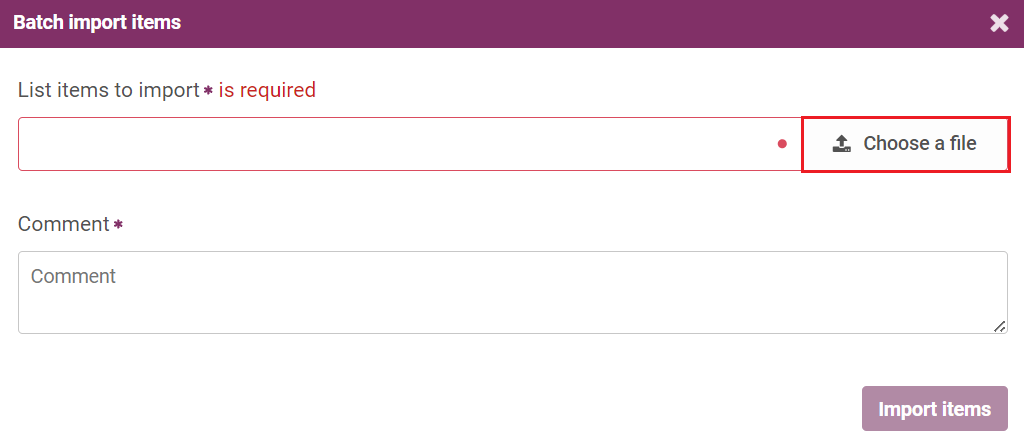
A window will display.
-
Click Choose File.
-
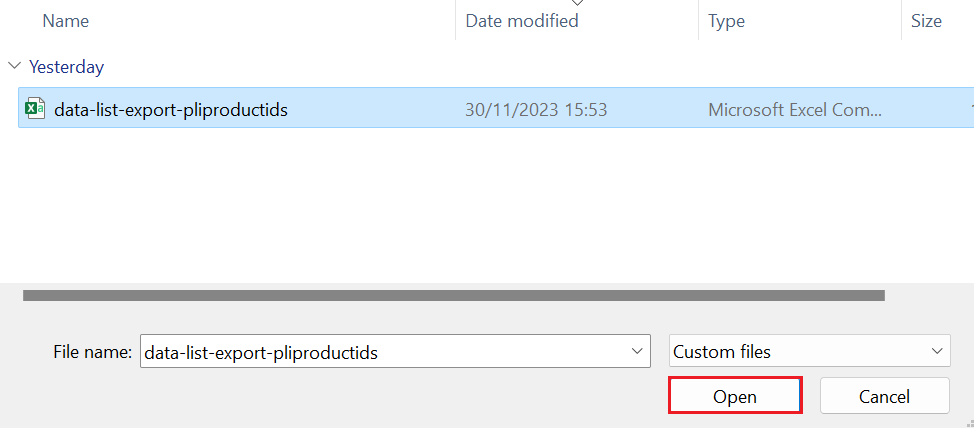
Navigate to the csv file you want to import and click Open.
The number of new items that will be imported will be shown, as well as the number and list of new headers (i.e. data list columns) that will be created.
-
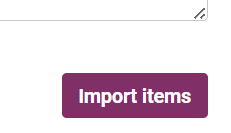
Enter a comment in the Comment field.

-
Click Import Items.
When using the batch import method to update a data list, any columns and values for identifiers present in both the existing data list and the CSV file will be overwritten with the columns and values for those identifiers from the CSV file. This is the case even if the existing data list contains columns and values that are not present in the CSV file.
Editing Data Lists
To edit a Data List, go to the page for that list. On this page, you can view and edit individual items in the list, or add new items.
-
To view the details of an individual item in a data list, click anywhere on the row showing the name of the item. This will display details of the individual item, including the comment added by the user who last added or updated this item, whether from the 'List Items' page, or the Incident Review page.
-
To delete a value (row) from a data list, on the right of the relevant value, click the Delete button, and then click 'Confirm Delete'.
-
To add to an existing data list using the batch import method, follow the steps in the section on Batch Import.
Edit an Item in the Data List
To edit an item in a data list:
-
Click the Edit button to the right of the item you want to edit in the item list.
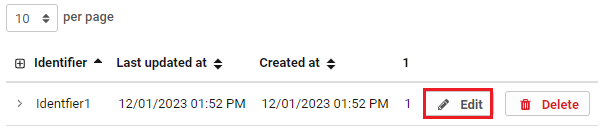
The Edit Item window opens.
-
(Optional) If the data list contains properties, specify or edit the value for one or more of these in the 'Properties' section. You can do this by entering the value or editing the existing value in the field next to the property name. Note that the data list containing properties can include other columns.

-
(Optional) Add a new property to this item by clicking the Add Property button. Enter the name of the new property (the column header) in the Key field, and the value for the new item in the Value field. You can remove any new properties by clicking the Remove button.
-
Enter a comment in the Comment field.

-
Click the Edit Item button to save your changes.
Delete Multiple Items from a Data List
Instead of manually deleting values from a data list, you can delete items using a Comma Separated Values (CSV) file. The batch delete functionality removes any items from the data list that have a unique identifier matching one in the _id column of the data list.
To delete multiple items from a data list:
-
Open the data list where you want to delete items from the Data List page.
-
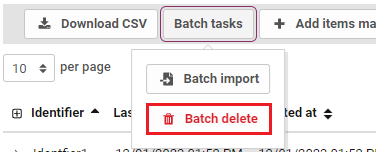
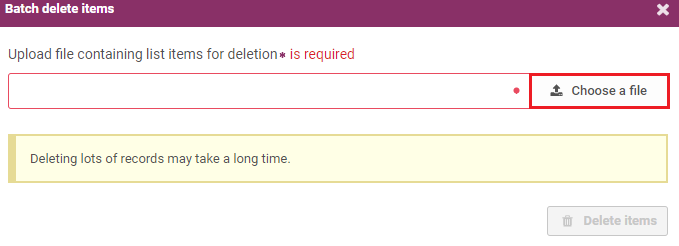
Click Batch Tasks and select the Batch Delete option.
-
Click Choose File.
-
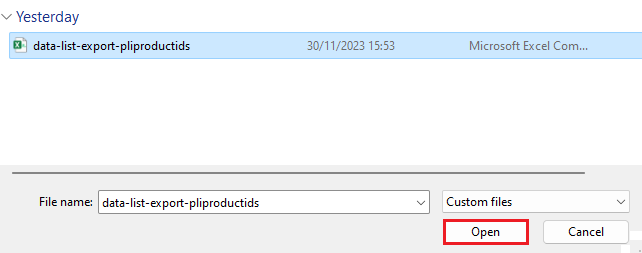
Navigate to the csv file and click Open.
-
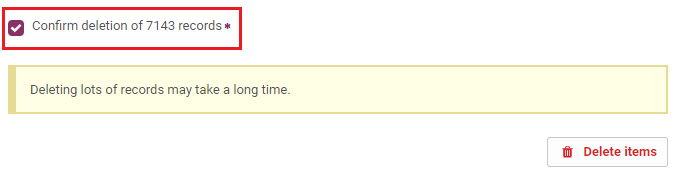
Select the Confirm deletion check box.
-
Click Delete Items.
Teams
Teams are groups of users that exist in the portal. You can refer Incidents to all the members of a team (see Referring Incidents), assign an incident filter to a team (see Incident Filters), and send a broadcast message to all members of a team (see Message Service).
Click the Teams option in the Settings sidebar to access the list of teams, create new teams, and add and remove users from teams.
Create Teams
To create a new team:
-
Click the Create team button.
The Create Team page opens.
-
Enter the name of the new team in the Name field.

-
Select the users that will be part of this team.
-
Click Create to save the new team.

Change Users on a Team
To change which users are members of an existing team:
-
Click Edit to the right of the team's name in the team list.

-
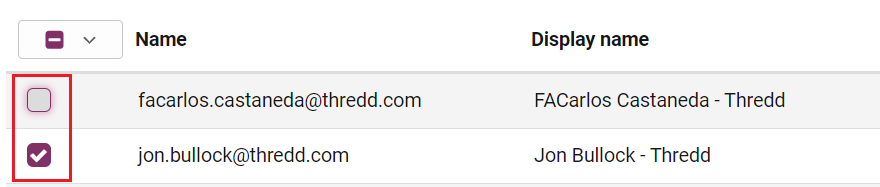
Select or clear the check boxes next to the names of the users you want to add or remove from the team.
-
Click Update to save the changes to the team.
Delete a Team
To delete a team: click Delete to the right of that team's name in the Teams list. You can confirm or cancel the deletion.
You can only delete teams that have no members, so to delete a team which has users in it, remove those users from the team first.