Investigating Fee Invoice Items
This section describes how to analyse your fees, using the Fee Analytics page.
To open the Fee Analytics page:
-
Go to the Fee Explorer page: Click the Network Fees button or select Finance > Network Fees from the menu.
The Network Fees dashboard is displayed.You can also navigate to the Network Fees page by clicking the Network Fees Quick Actions button from the Automated Back Office dashboard.
-
Click the Fee Explorer tab.
-
In the Invoice Items table, click the arrow
 button to the right of the invoice row to view further details of the fee invoice and update the invoice status.
The Fee Analytics page displays details of the invoice item. See the example below.
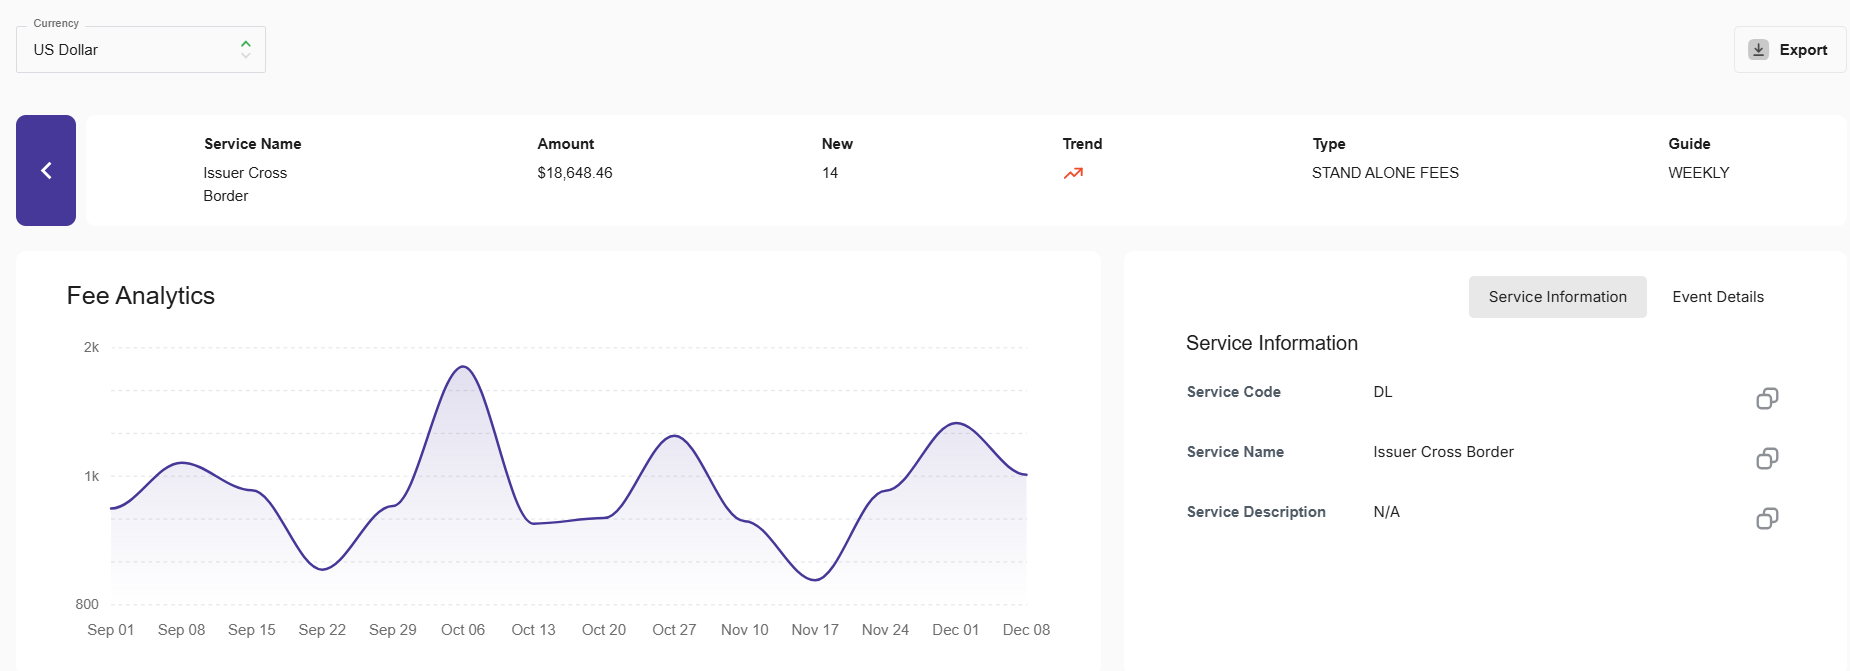
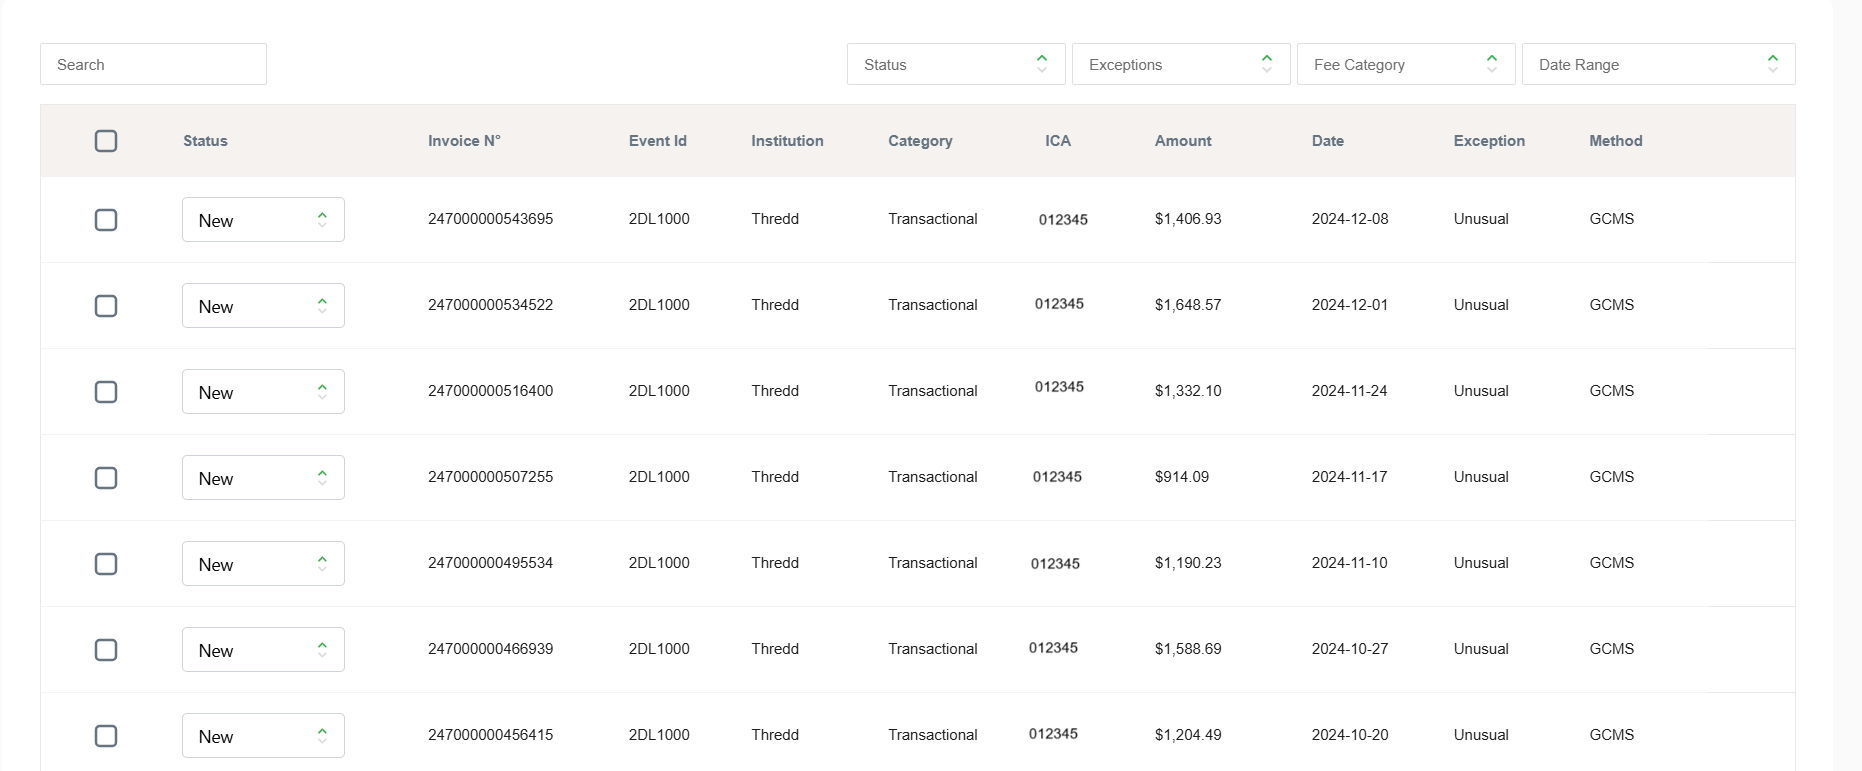
Figure 28: Fee Analytics page - provides further breakdown of the fee item
-
To return to the Fee Explorer page, click the Back
 button (at the top left of screen).
View Event Details
-
To view event details for the selected fee record, click the Event Details tab.
Details similar to the following are displayed: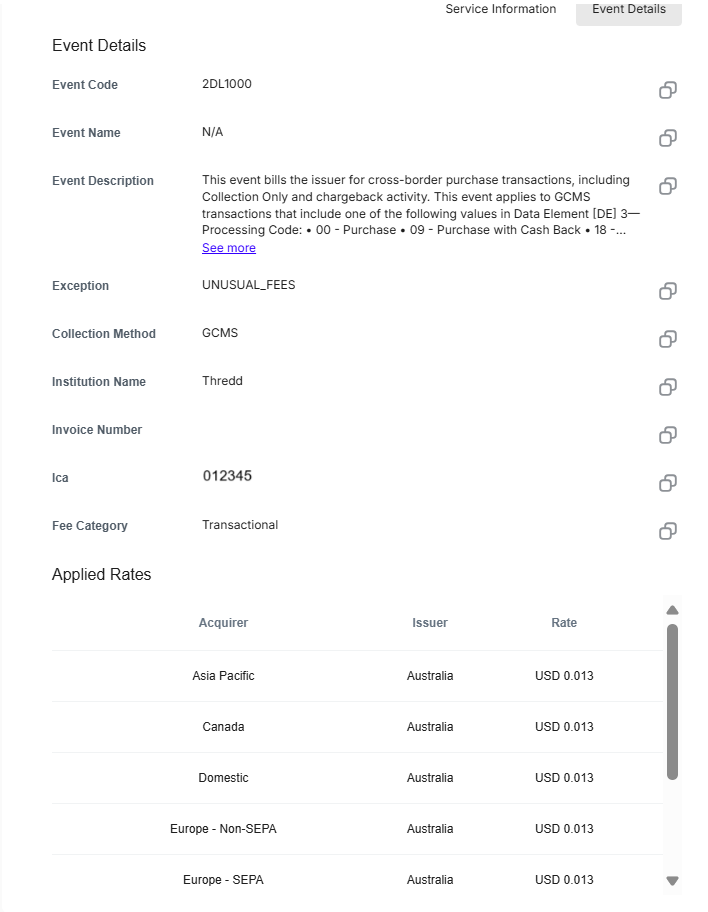
Figure 29: Fee Analytics page - showing fee event details
-
You can use the Copy
 button on each event entry to copy event details.
You can paste the details into reports or emails for further investigation.
For more information on event details, see Appendix 2: Event Details.
View Service Information
-
To view service information for the select fee record, click the Service Information tab.
Details similar to the following are displayed:
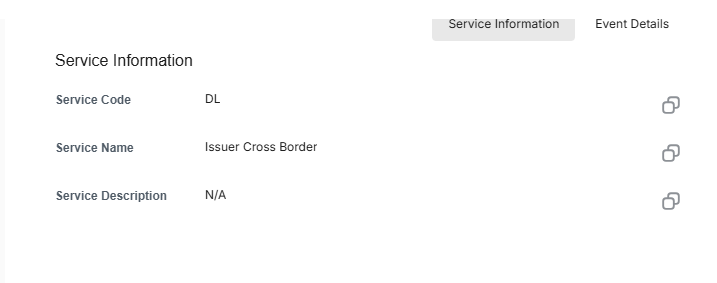
Figure 30: Fee Analytics page - showing service information
-
You can use the Copy
 button to copy service details.
For more information on service codes, see Appendix 1: Service Codes.
Search for an Invoice
-
To search for an invoice, enter an invoice number, event ID or institution into the Search box :

Filter Fee Invoices
You can use the following filter options to filter the list of fee invoice items:

Refer to the table below for details of the available options for filtering your fee invoices.
|
Filter |
Filter options |
|---|---|
|
Status |
Select the fee invoice status. Options include:
For more information on how to change the status of a fee, see Changing the Status of a Fee. |
|
Exceptions |
An exception is an unexpected fee invoice or fee amount that is out of the normal expected fee range. The platform assigns fees to exception categories based on their nature and billing description. Select the type of fee exception. Options include:
|
|
Category |
The category filter provides a granular view of your fees, to help you understand your costs and what areas need optimisation. Select the fee category name. Options include:
|
|
Date Range |
Select the fee date range to display. Options include:
|
Handling Fee Exceptions
An exception is an unexpected fee invoice or fee amount that is out of the normal expected fee range.
The fee may be unusual or suspicious in some way, or the fee details may be unknown. You can:
-
Investigate the fee — flag for further investigation.
-
Escalate the fee — flag for discussion with the Card Scheme. The system prepares an email template with the relevant information, which you can copy and send to the Card Scheme.
For details, see Changing the Status of a Fee.
Change the Status of a Fee
All new fees received by the system are set to the New status. When reviewing the list of fee items on the Fee Analytics page, you can change the status of the fee record to reflect the status based on your internal fee checking and validation process. For example, you can:
-
Investigate — flag a fee for further investigation with your internal teams (e.g. Finance, Operations, Compliance).
-
Escalate — flag a fee for escalation. The system prepares an email template with details, which you can copy and send to the Card Scheme.
-
Accept — approve a fee that has been reviewed. Once approved, the fee will no longer be listed under the Warnings, New Fees or Exception categories.
When you update the status of a fee, it changes for the Thredd Automated Back Office portal only.
If a fee has marked as Suspicious in the Exception category, you can Escalate or Investigate it, but you cannot Accept it.
To change the status of one or more fee items:
-
Select the required rows. Note that you can select one or more fee rows that currently share the same status.
-
At the bottom right of the screen, click the Perform Action button and select the required status: Accept, Investigate, Escalate.
Note that the available options depend on the status of the selected fees. See the example below. - In the pop-up window that appears, click Confirm to confirm the action.
- The status of the fee is changed, and is marked in the drop-down field, as shown in the example below.
- To view the email template, which has further details to send to the Card Scheme, click the Email Details
 icon.
icon.

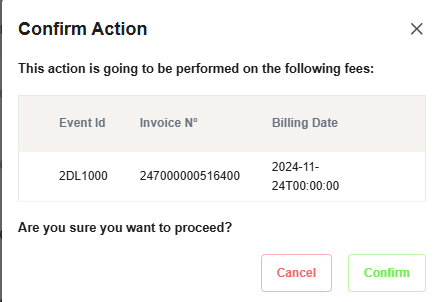

Figure 31: Example of an Escalated Fee
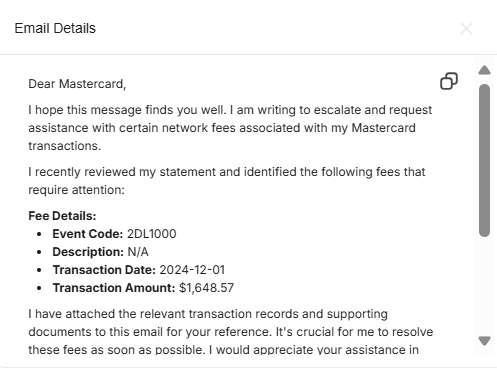
You can only view the email template if the fee status has been changed to Escalated.
- To copy the email, click the Copy
 button. Paste into an email or online form for submission to the Card Scheme.
Figure 32: Example Escalation email to Card Scheme