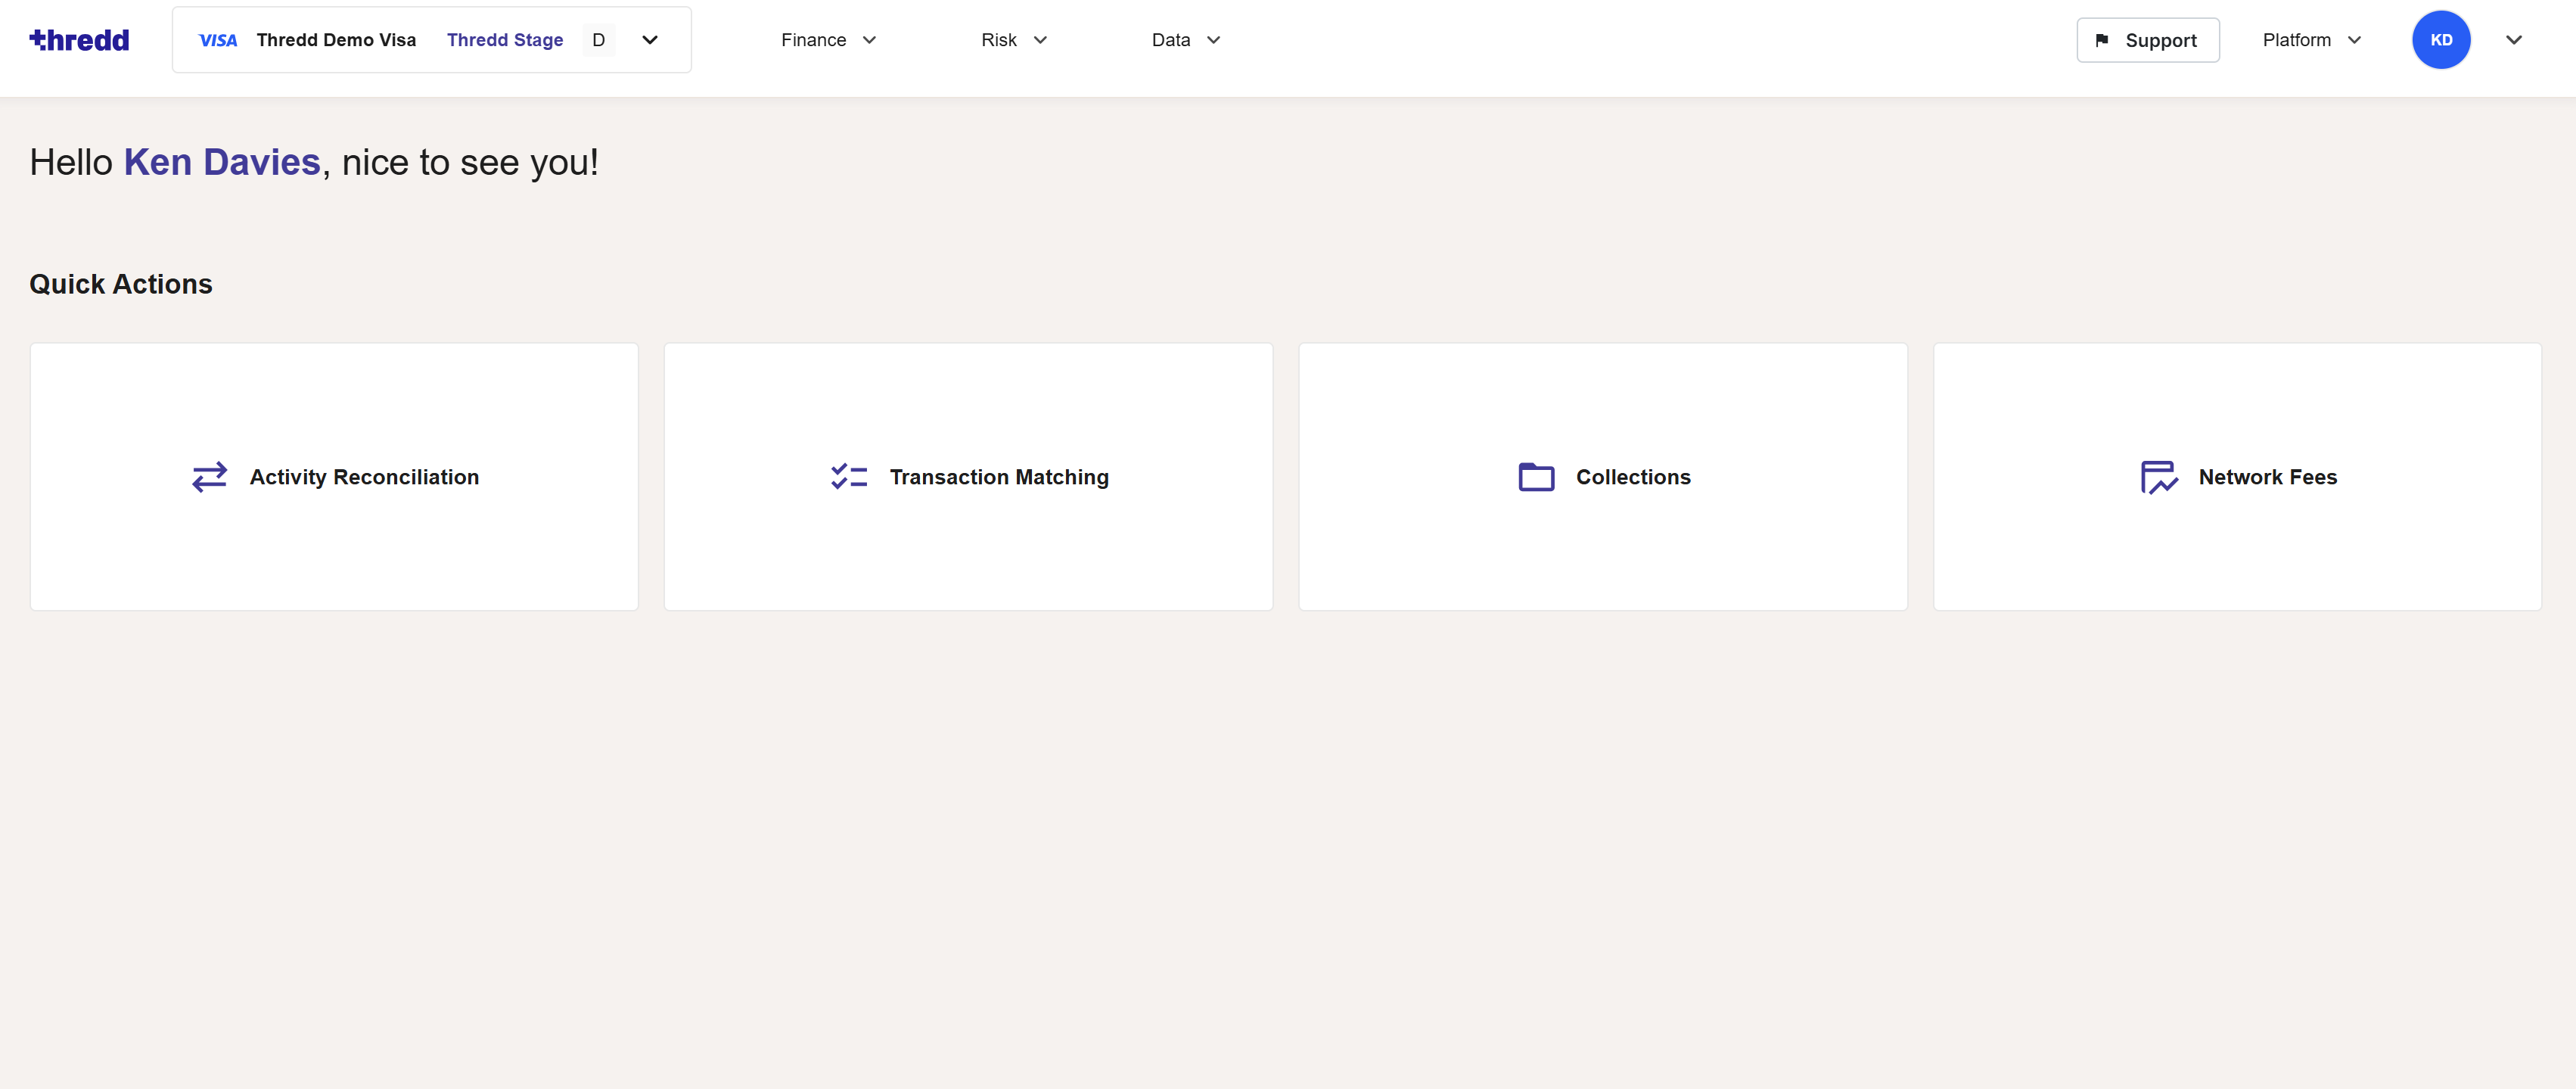
Automated Back Office Dashboard
When you first log in to the portal, the dashboard appears.

Figure 4: Automated Back Office Dashboard
Selecting your Program
At the top left of the screen, select the relevant program from the Programs drop-down list.
Using the Quick Actions buttons
You can use the Quick Actions buttons to navigate to key areas on the portal:
-
Activity Reconciliation — opens the Activity Reconciliation page, where you can view the reconciliation status of your transactions. See Viewing Activity Reconciliation Status.
-
Transaction Matching — opens the Transaction Matching page, where you can view the matching status of your transactions. See Viewing Matched and Unmatched Transactions.
-
Network Fees — opens the Network Fees dashboard page, which provides a graphic summary of the different categories of network fees. See Viewing Network Fees.
-
Collections — opens the Collections page where you can upload your data. See Uploading your Data.
Using the Portal Menus
You can use the following menu options to navigate through the portal:
-
Finance — provides links for Viewing Activity Reconciliation, Transaction Matching and Network Fees.
-
Risk — provides links for Scheme Reporting.
-
Data — enables you to set up collections for holding your data and manually upload data to the portal. See Uploading your Data.
-
Platform — provides links for setup and administration tasks. See Platform Administration.
Return to the Portal Home Page
Click the Thredd Logo to return to the portal home page.
Log out
To log out of your account, select the Log out option from the account menu on the top right of the page.